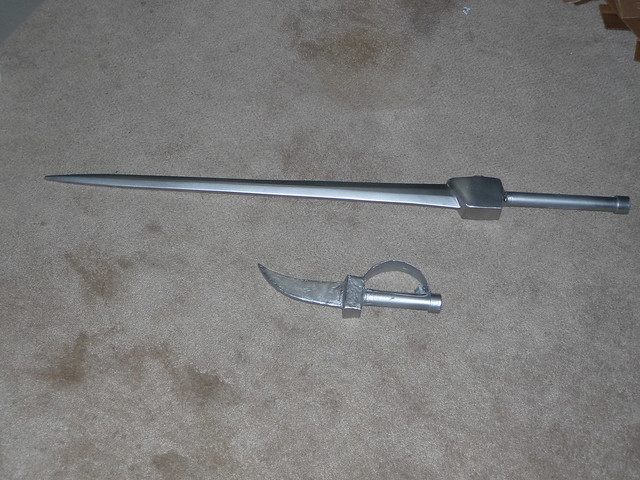
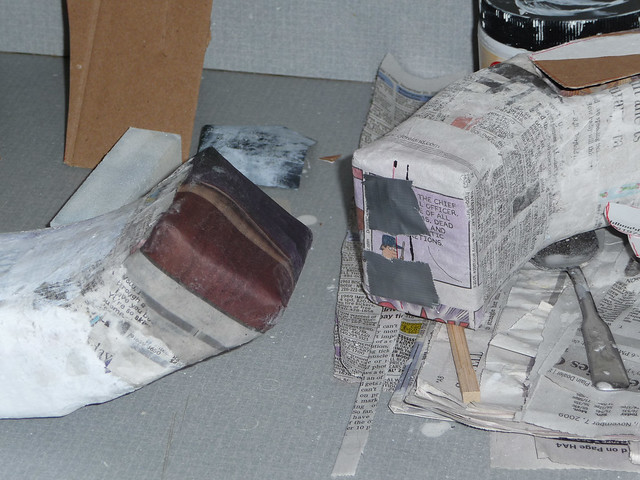
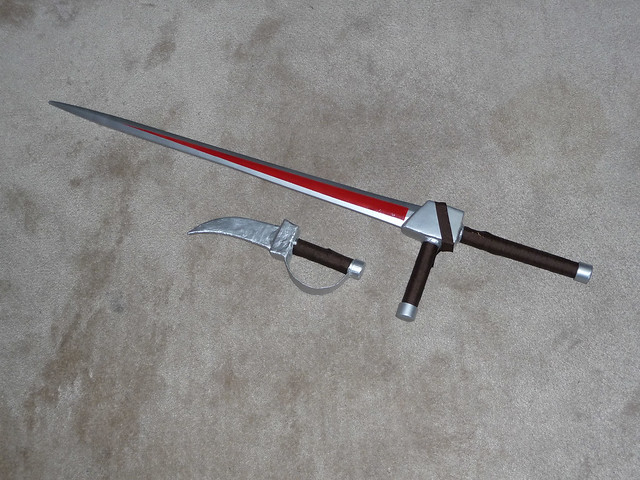
Cypher Sword
I was not completely happy with how the cypher sword turned out from before since I could still see some of the wood grain on the blade near the hilt. I put on a few layers of gesso on the entire sword including the large block-like hilt. After layers of gesso I then proceeded to sand the entire thing using a nail block (yes, the ones found in the cosmetic aisle of the store) and then wet sand with 400 grit sandpaper.
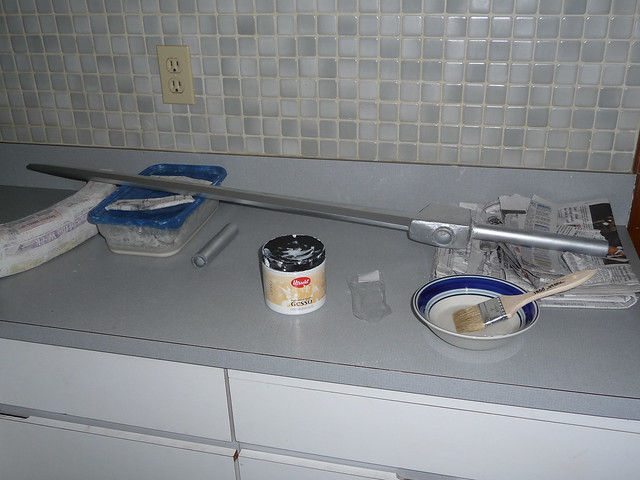
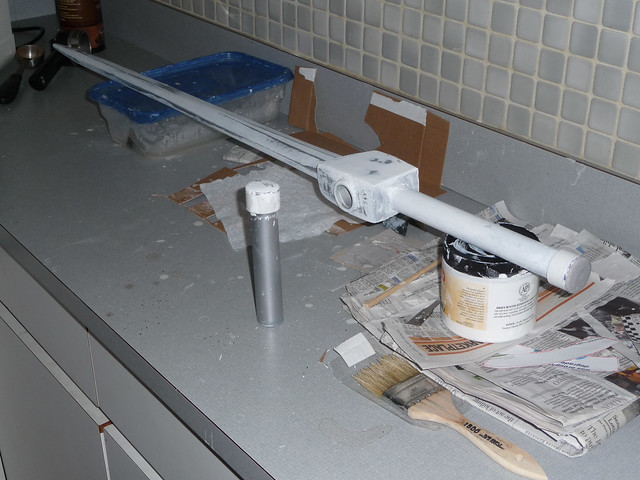
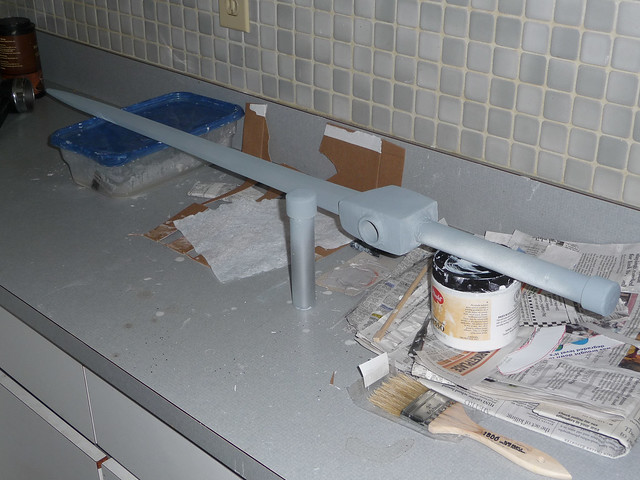
My biggest mistake was at this step. During the third coat I thought the paint coming from the can wasn't going to be flat enough when dry so I sprayed a bit more on in hopes that it would self-level. At this point I noticed that I had put so much paint on there that it was starting to run down the thin edge of the blade. I ended up having to sand down one entire side of the blade, re-gesso it and do the whole painting of that side again. The second time I learned to just spray one layer and walk away no matter what I thought about it. This resulted in a nice smooth finish without any problems.

Belt
The belt had about 7-10 layers of papier mache painstakingly applied to it. I had said before that I wanted to use magnets for the belt so I ended up cutting the belt in two places and used a pin vise to drill out holes for magnets.
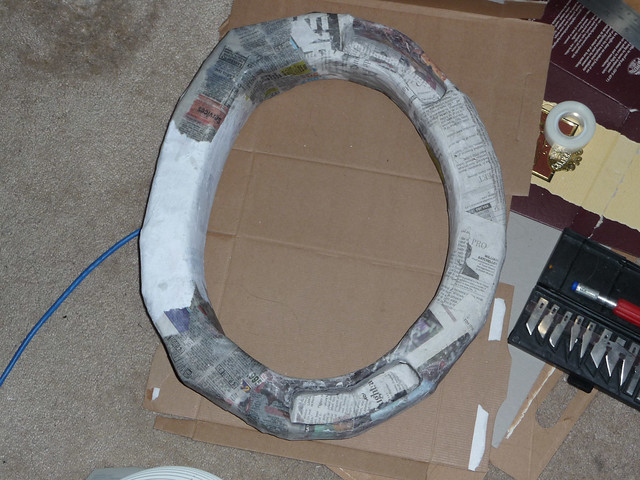
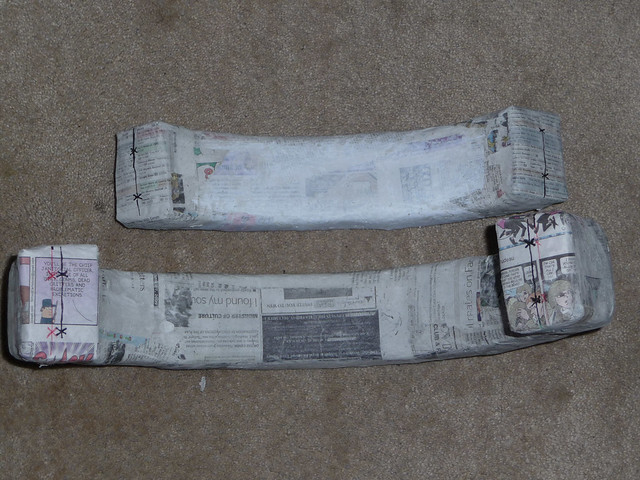
I used neodymium magnets from K&J Magnetics (Grade N50, 5.4mm x 4.5mm disc magnets). These magnets are very strong and will not hold with just duct tape so I had to add two layers of papier mache on top of that to make sure they would stay.

I've left off a lot of detail about the trial and error into constructing the area where the two parts of the belt attach and even now it's not completely perfect. The entire thing was covered in gesso which is where it stands right now.
[UPDATE] I would not recommend the above method as the magnets were able to tear through the duct tape and paper mache after a few hours of walking around at the convention.This rendered the belt nonfunctional because the two halves would not hold together.
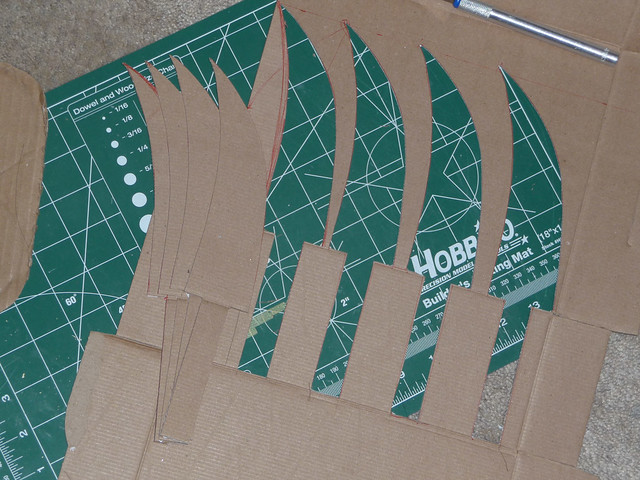
Grappling Hook + Sheath
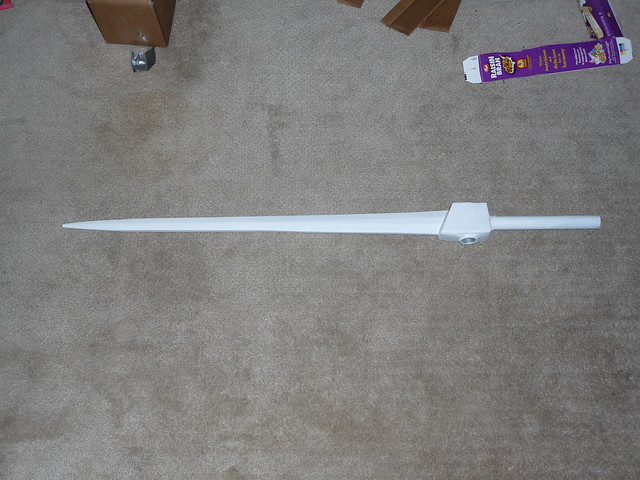
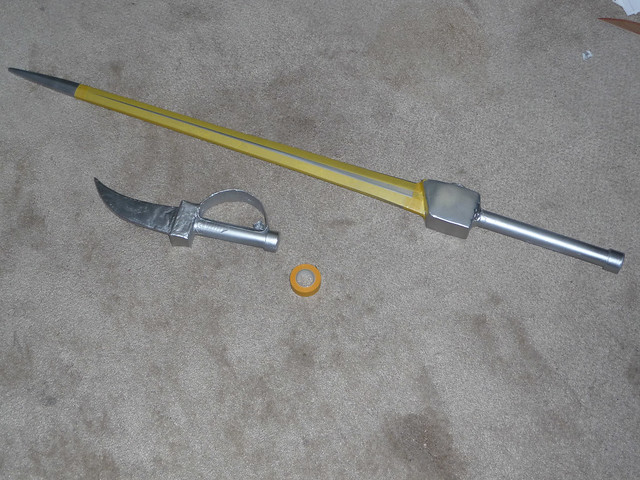
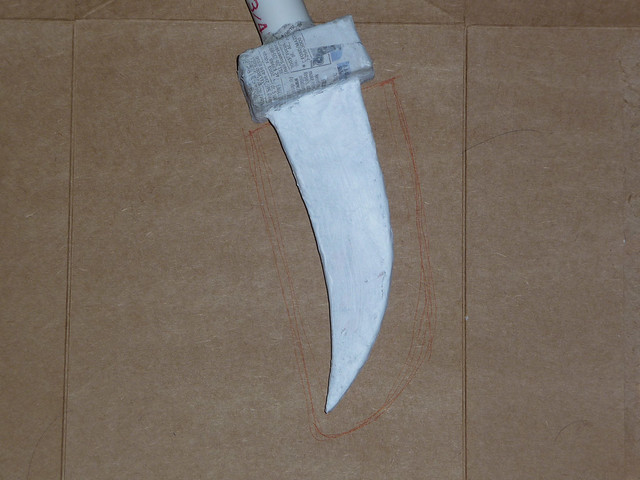
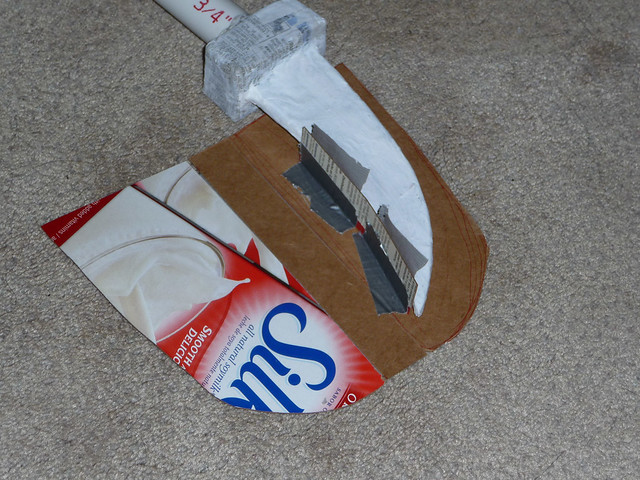
The grappling hook was made to be a static object, not like the one in the game that is constructed of three pieces to extend. The compressed version looks like a dagger with a curved hand guard. I made the dagger using 4 layers of cardboard duct taped together with a piece that extended into a piece of 3/4" PVC pipe. The hilt was made using pieces of cardboard in the shape of a box.

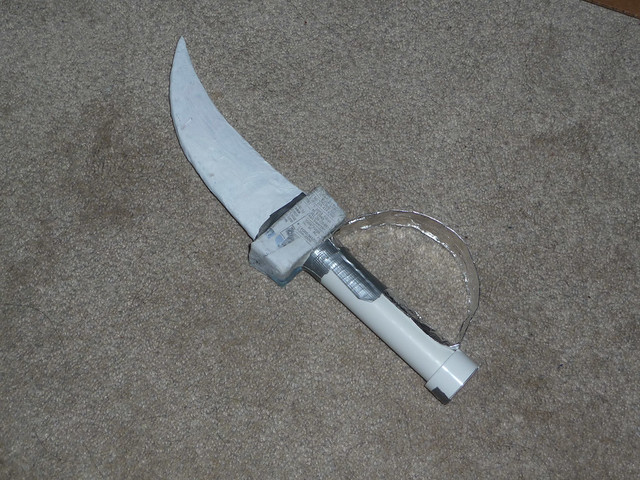
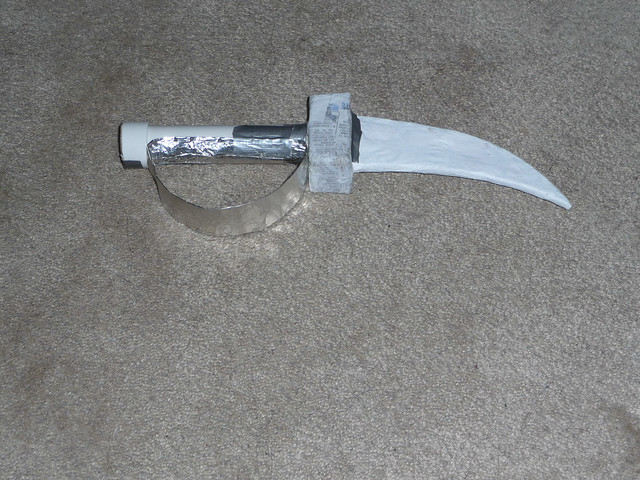
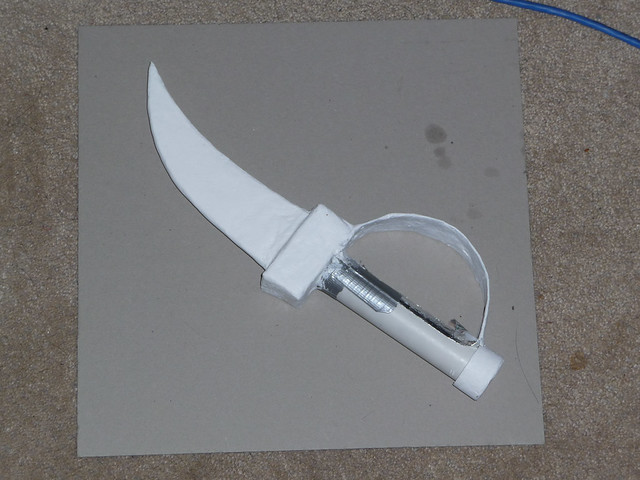
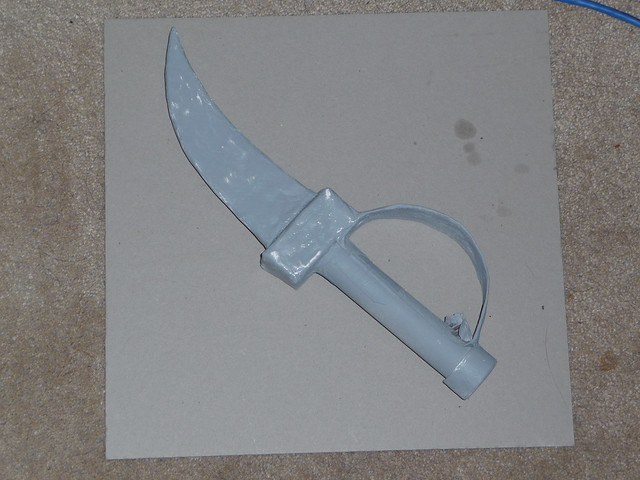
The end of the handle for both the grappling hook and the cypher were made using a cap for 3/4" PVC pipe that was cut and placed on.

The open end was covered with a piece of cardboard and then coated with gesso. The handles were wrapped with brown ribbon from Michael's. They are currently secured using scotch tape looped to crate double sided tape. I just simply wrapped the handle in one direction with a constant diagonal motion.
The sheath was made using cardboard using the dagger as a template for size reference. This was also covered in papier mache and gesso.
Wrappings
I initially had some white cloth from the discount bin at the fabric store, but it will be hard for it to stay in place when I use it to wrap my forearms, legs, and feet. I will be getting some gauze from the store that will stick to itself instead.
To Do
- Paint the sheath for the grappling belt
- Paint the belt
- Make zori sandals
- Buy some gauze
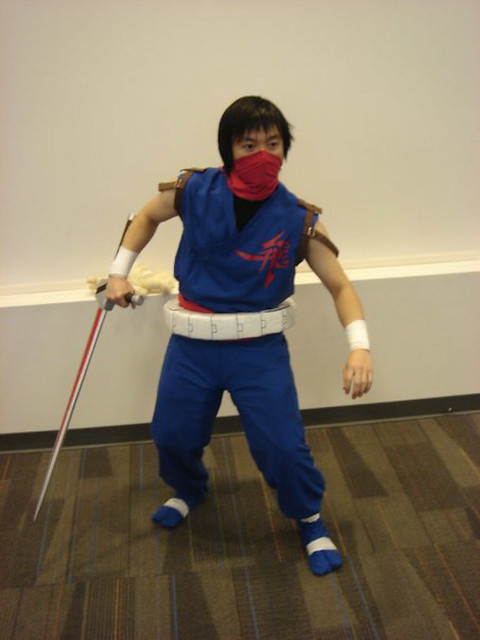
Here's a picture of the final cosplay:
This comment has been removed by the author.
ReplyDeleteThanks for the compliment! If you follow the previous WIP posts for Strider I go through how I made the cypher sword as well. I would have made the dagger out of wood too but I only had limited time with power tools so I could only work on the cypher sword.
DeleteI wouldn't recommend building anything using layers of cardboard covered with paper mache just because it's difficult to get a really smooth surface. Plus, wood is stronger.
As far as the back holster, it didn't really work as intended. The straps were not secure enough so the entire thing was weighed down in the back. I still don't really know much about how to make a proper holster but I would modify an existing design as that would probably be the easiest way to get one that looks good and functions properly.
Let me know if you have any other questions.