Belt
I took a look at all the reference pictures along with what other people have done for their cosplays. From what I can tell it seems like the belt is a series of connected boxes, the purpose I'm guessing is to store things. I decided to do a total of 14 segments to the belt. I also plan on making two functional compartments to carry around my cell phone and stuff from my wallet. My waist is 28 inches so this construction will not work for everyone. Based on my waist size, I made the boxes to be 2.5 inches square on the face and a depth of 1.5 inches.
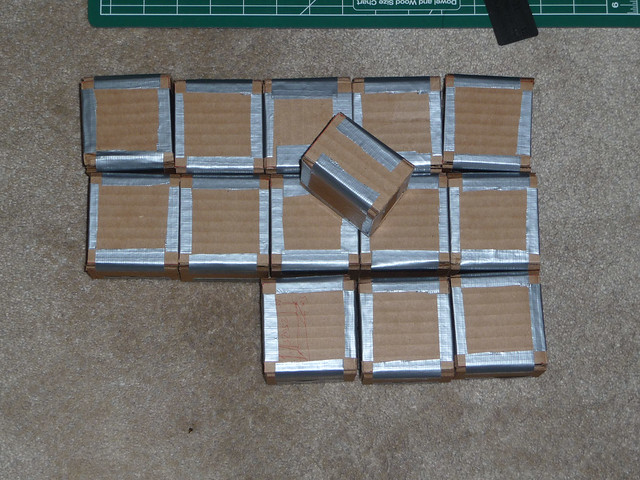
I cut out all of the necessary pieces out of corrugated cardboard to make sure it's strong enough (corrugated is significantly thicker and stronger than the stuff for cereal boxes). I cut out a total of 28 2.5 inch squares and 56 1.5 x 2.5 inch side pieces.

While watching various TV shows I assembled all 14 boxes using duct tape. Since I wanted to have 2 functional compartments and each of the boxes are fairly small, I will be combining two boxes for each of the functional compartments. Initial testing shows my cell phone can fit, but my wallet is too large. I should still be able to put the stuff from my wallet in there, just the actual wallet is slightly too large. I connected the remaining 10 boxes into two sets of 5 and then temporarily connected everything together into one chain to do a test fit. It ended up being just enough to fit around my waist, but in all the pictures it is actually lower on one side. I ended up constructing one more box to add on.
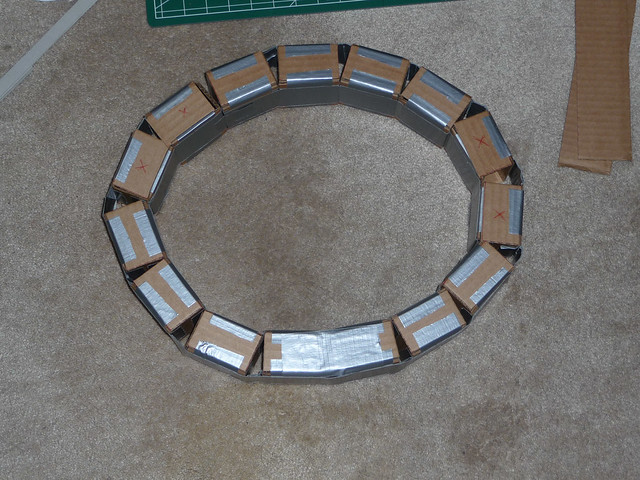
The hard part was getting the shape of the entire belt to be set and not have it flop around. I put the belt around my wait and placed strips of duct tape around the outside to secure the shape. Then I layered duct tape on the top and bottom and then covered the entire thing in one more layer of duct tape.
At this point I realized that I would have trouble making the lid for the compartment hinged since it's a curved section (pretty much all the sections are curved so there's no way around this). I debated for a while whether or not to use magnets to attach the lid and have the entire piece be able to come off, but my main concern was whether it would destroy the magnetic strip of credit cards and similar cards. I found some neodymium (rare earth) magnets online from K&J Magnetics that would be small enough such that they are strong at small distances, but would have a small magnetic field at even an inch away (magnetic fields drop with respect to distance squared). The price of the magnets was holding me up since I didn't want to spend too much more, but I decided I would have to have at least some magnets since the belt is rigid and I will not be able to put it on if it doesn't come apart in two halves.
Fabric Paint
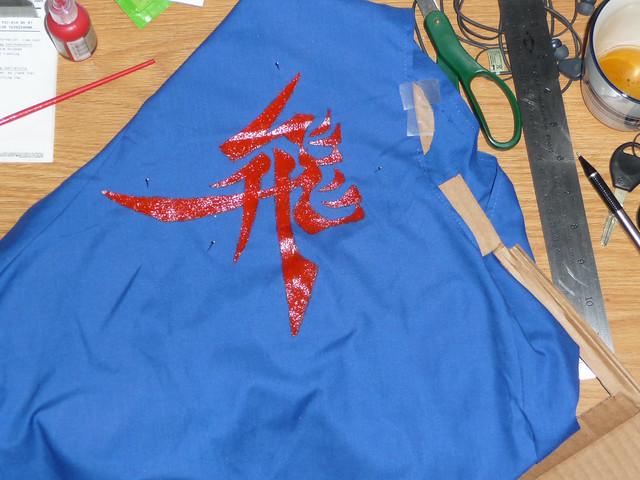
Spent about an hour painting the 飛 character onto the shirt, which took about 6 coats since it's red paint onto blue fabric. I used Scribbles 3D paint from Michaels which cost me about $1 for an 1 oz bottle. Hand brushing it yields much smoother results than squeezing it from the bottle in my opinion. I first traced the design and then cut it out of paper. I pinned the design to the fabric along with a piece of cardboard under it to prevent the paint from bleeding to the back of the shirt. I then used the fabric paint straight from the bottle but brushed it on instead of using the applicator bottle. After drawing in the outline using the pinned cutout, I removed the cutout and painted within the lines. The first layer or two looks crappy since it doesn't cover well enough. After 3-4 layers it actually looked a lot more like a true red. The trick is to paint in thin layers. By the time I finished the entire design for one coat the first part was ready for a second coat. By going in the same order every time I ensured that it was dry before the next coat.

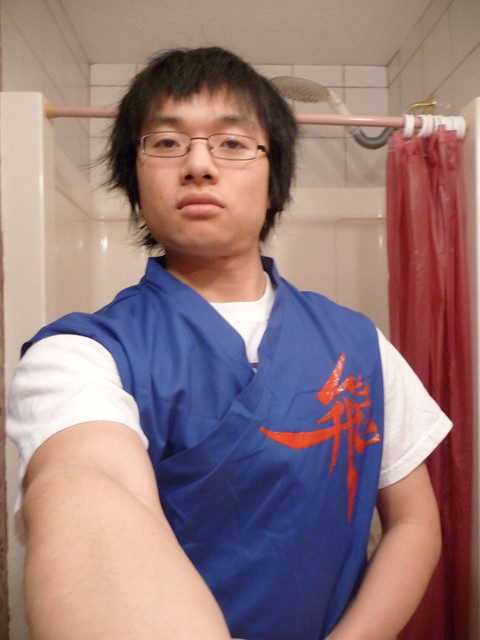
Full drying time is listed as 24 hours so I'm leaving it overnight before I attempt to do anything to the fabric.
To Do
- Make the grappling hook/dagger thing along with the holster for it
- Finish the construction of the belt
- Gesso and paint everything
- Probably will redo the sword even though it's already painted (not completely happy with how it turned out so I might try to gesso it since I didn't do that the first time)
- Make the sandals
Still quite a few things left to do so I hope I can get it all done in time.
No comments:
Post a Comment