This is a lot of firsts for me - my first resin kit, my first work in prog, and I'm also trying a lot of new techniques. I've only built two Gundam kits before this, the 1/100 HG Tallgeese III and the MG God Gundam. I airbrushed both but I am still trying to learn a lot of new things since I was not completely satisfied with how they turned out. I got interested in figure kits after seeing FilmMkr's works on the FichtenFoo Forums.
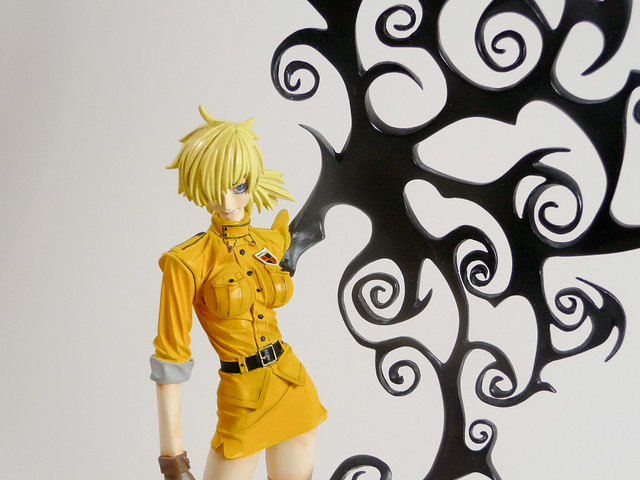
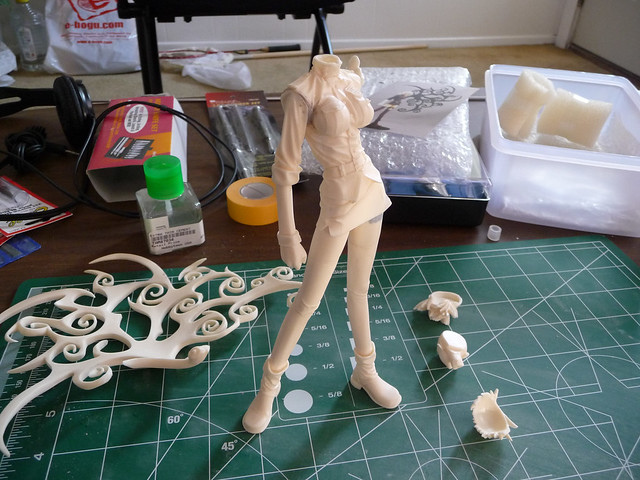
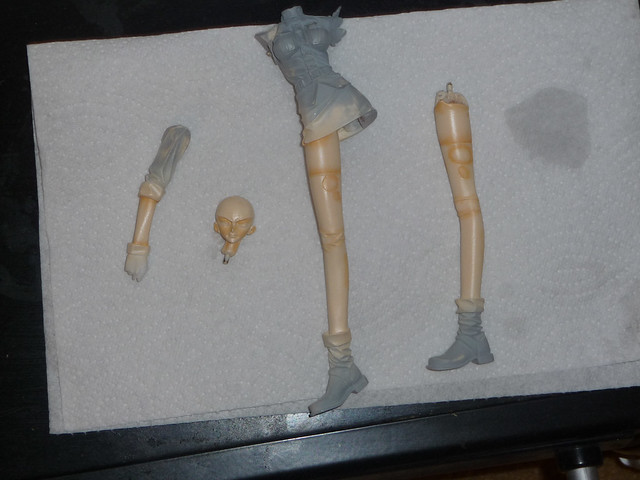
This particular kit is the 1/8 Seras Victoria from Hellsing and was purchased from e2046 about a year ago. I have been working on this on and off for the past year, but did not really have much time to work on it due to school. I finally got around to sitting down and working on this kit quite a bit in the last week or so since finals just got done.
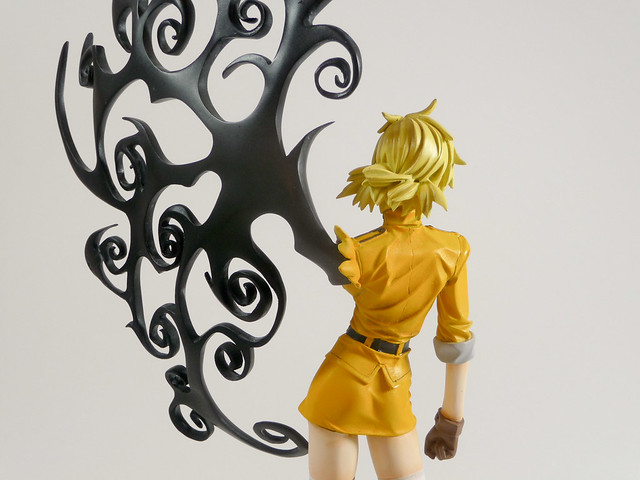
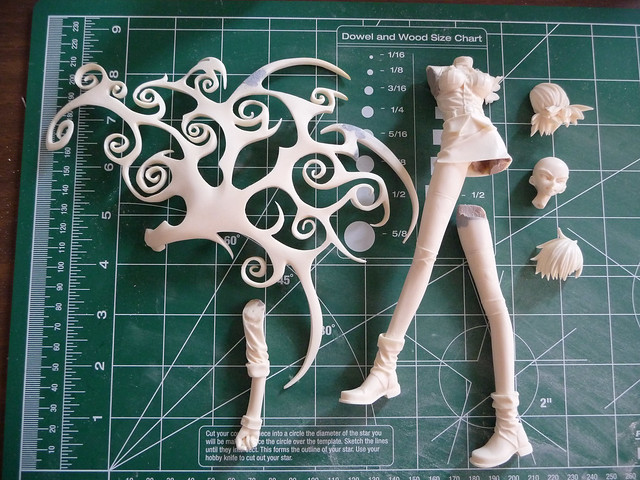
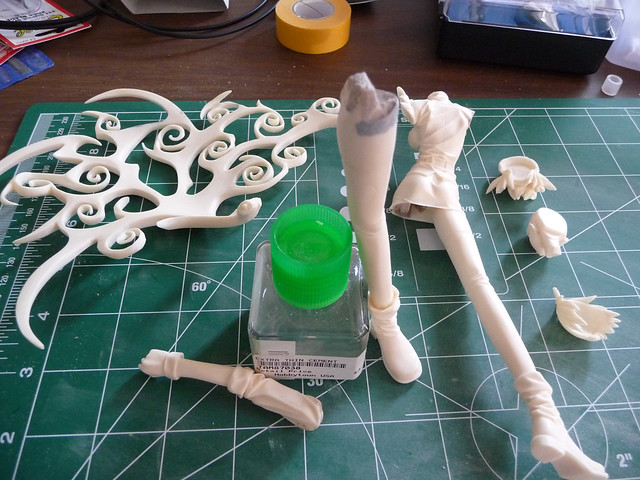
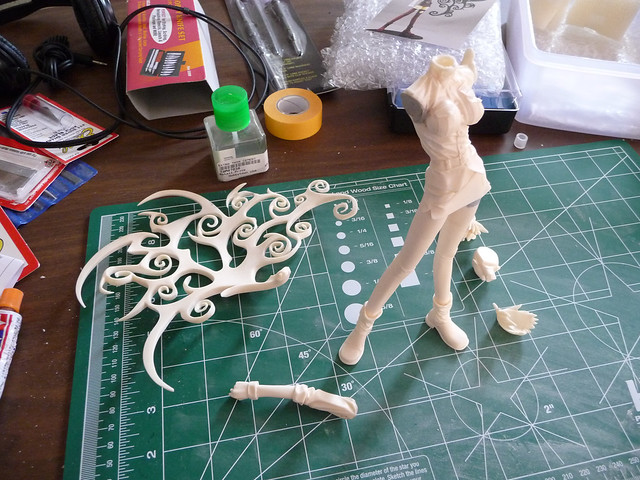
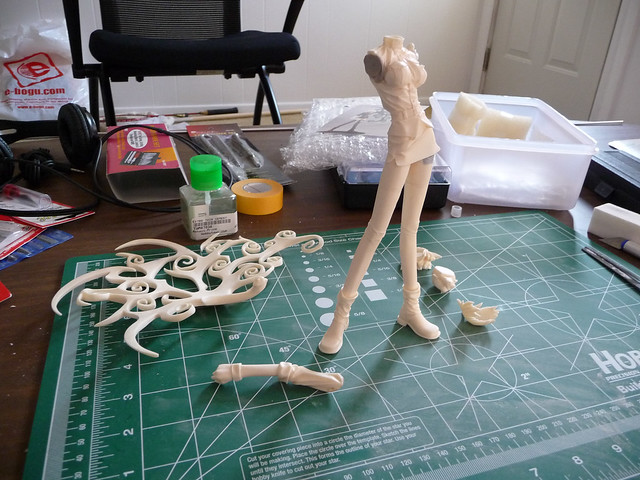
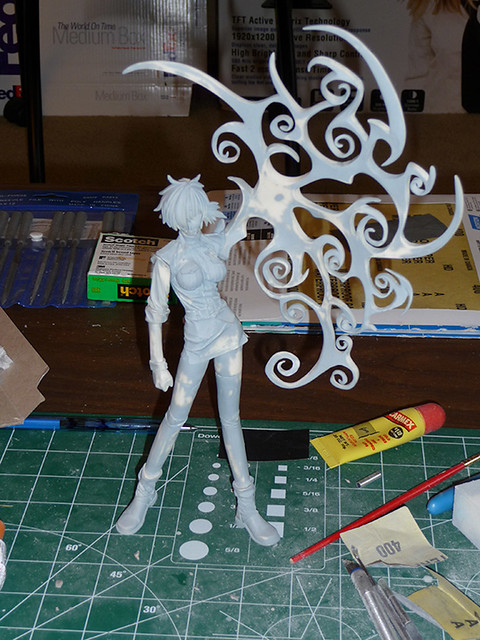
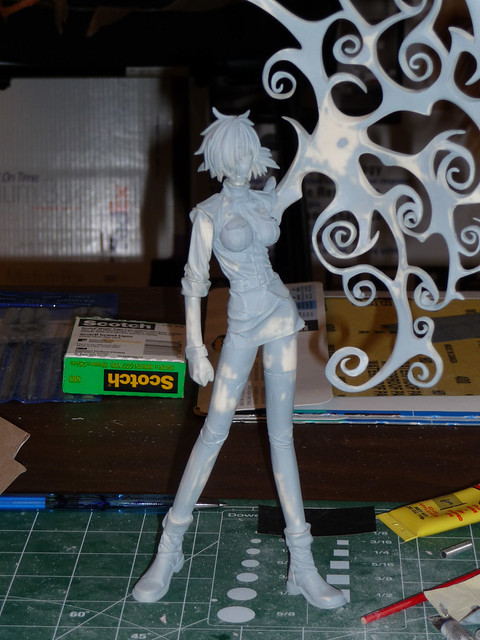
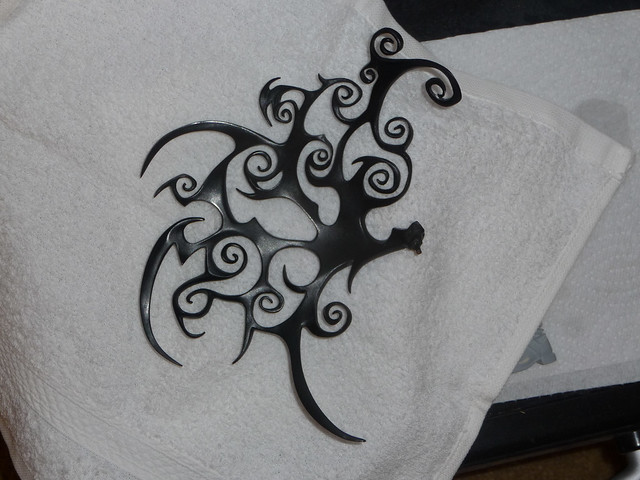
It's a pretty simple kit which is why I chose this one to start with. I first soaked all the parts in a degreaser (PurplePower equivalent) and then scrubbed it with some SoftScrub. The hardest part was the cleanup of the "wing," which is what occupied most of my time during the cleanup. I primed, sanded, fixed defects, and then repeated the process several times.
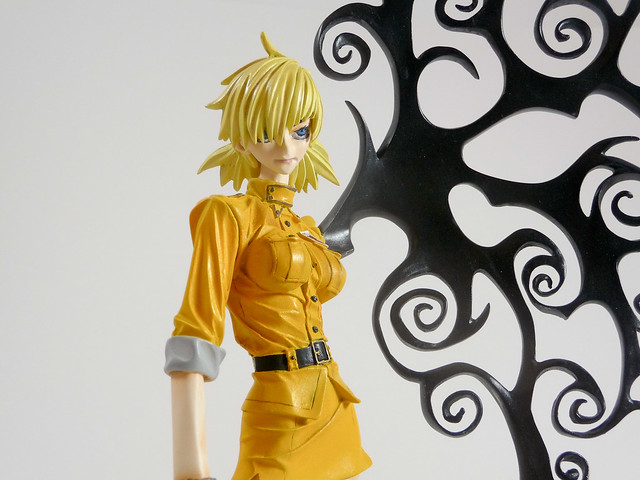
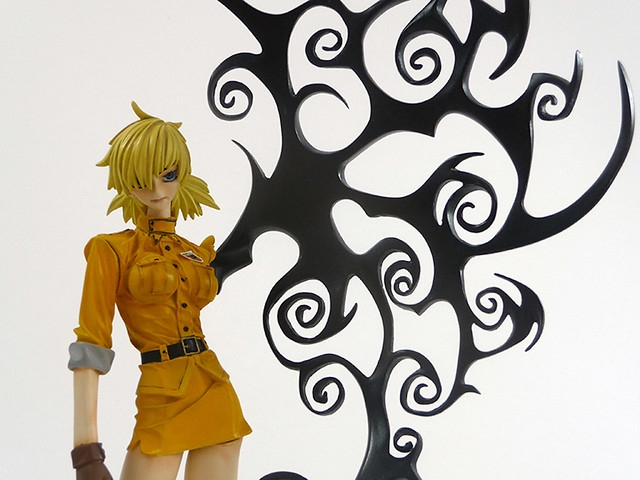
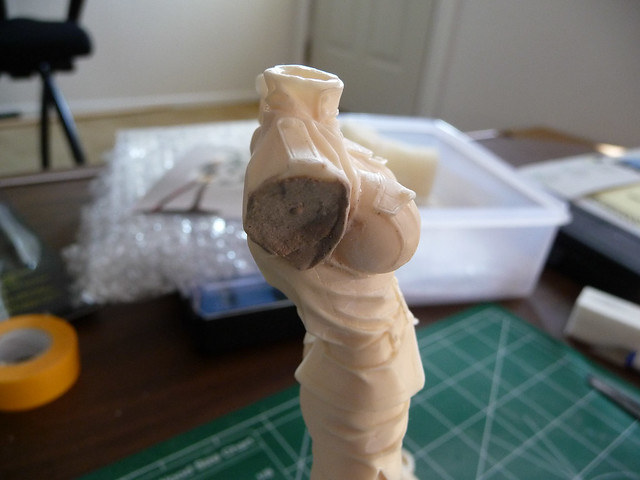
Since this was my first resin kit I had some trouble with the pinning of the kit, especially where the arm connects to the body because it would tend to rotate on me so I had to have two pins. I also had trouble getting the head to stay in the position I wanted, but I managed to solve this when I drilled a larger hole for the pin and used a 3/32" brass rod instead of paper clips.
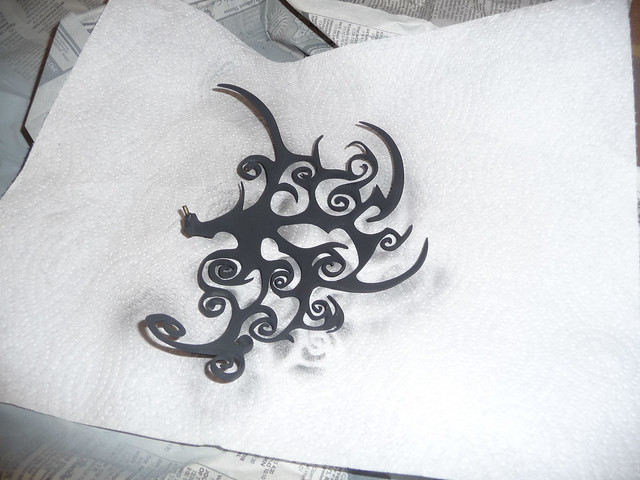
I first painted the wing and used straight Tamiya Acrylic Flat Black. It came out pretty well. I had wanted to try to emulate the pearly black luster that FilmMkr got on one of his newer kits, Daphne's Surprise, but didn't want to spend the extra money on PearlEx powders. I found Delta Creamcoat sells this Pearl stuff so I tried that but it was really hard to get a good even effect so after doing a test I decided to not do it on the actual wing.
I clearcoated the wing with some Future and then after about half an hour tried to lightly sand it to get it smoother, but it started to take some paint off. After trying to handbrush some black on I realized that the alcohol used to thin the paint was reacting with the paint already on the part and in the end I decided to just dunk the piece in degreaser and repaint it. This time I waited a full day to let the Future cure and then rubbed some Tamiya Finishing Compound on it to get it smoother.
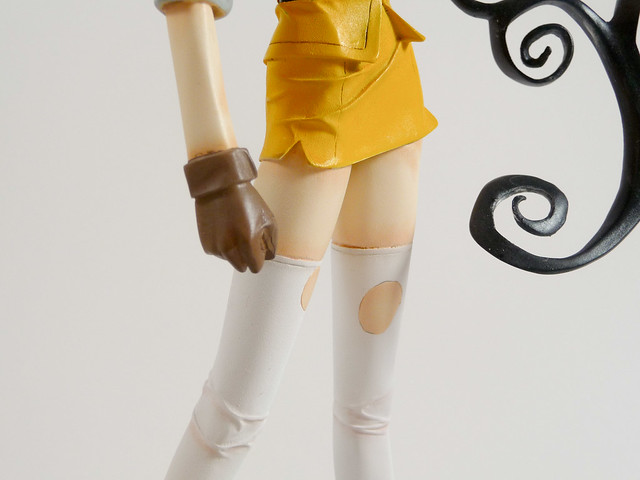
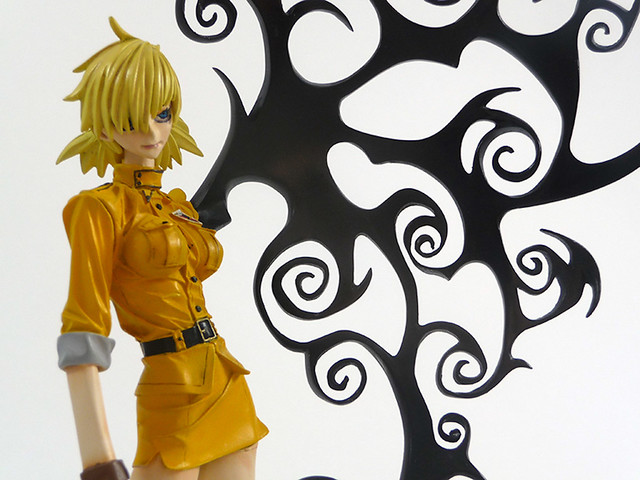
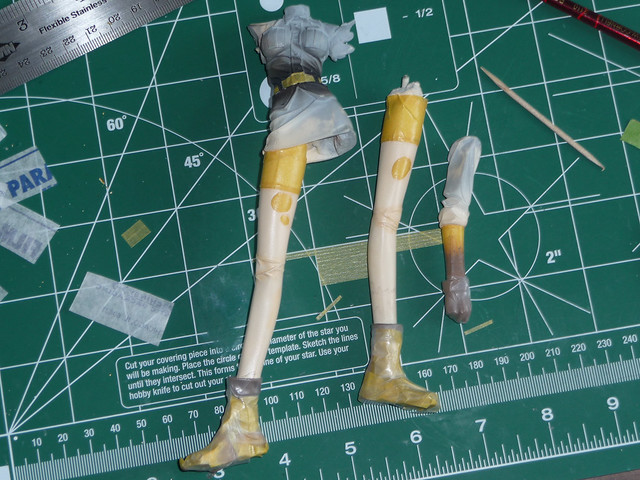
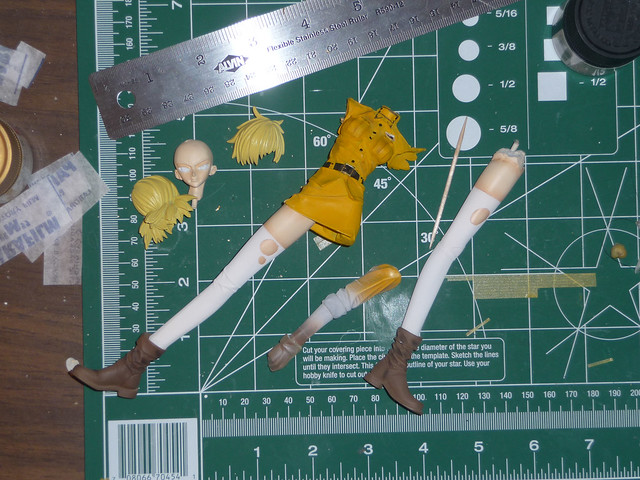
Next up was painting the flesh tones. I did not want to spend too much money all at once so I opted to go with Delta Creamcoats for the skin tone. I used a formula from GKJapan.com:
3 parts white
1 part parchment
1 part tangerine orange
Using that ratio it came out a bit too orangy for me so I then added a bit more white and parchment to lighten it up a bit since Seras is a vampire after all!
After spraying a few coats of this I used chalk pastels to shade the kit. I got some Faber-Castell chalk pastels at a local art store and they work great. I just followed what
FilmMkr does and rubbed some onto a sheet of sandpaper and then tapped the pastels into the areas I wanted to shade. I then blew off the pastels and blended it away from the applied area. It took a few applications to get the color to build up. After the application I sealed it with a coat of Future to prevent the shading from getting wiped off when I mask it.
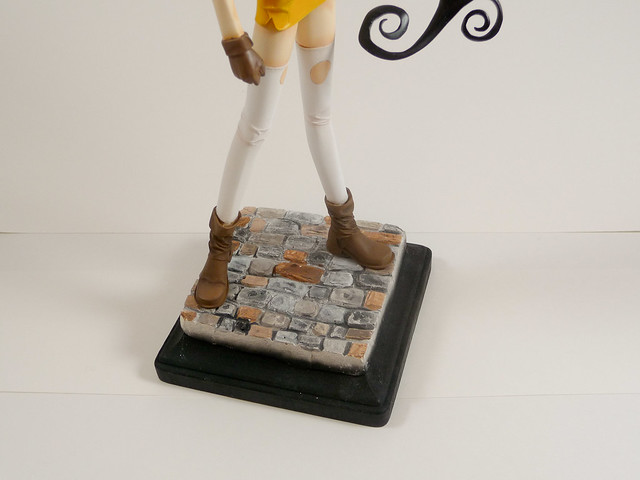
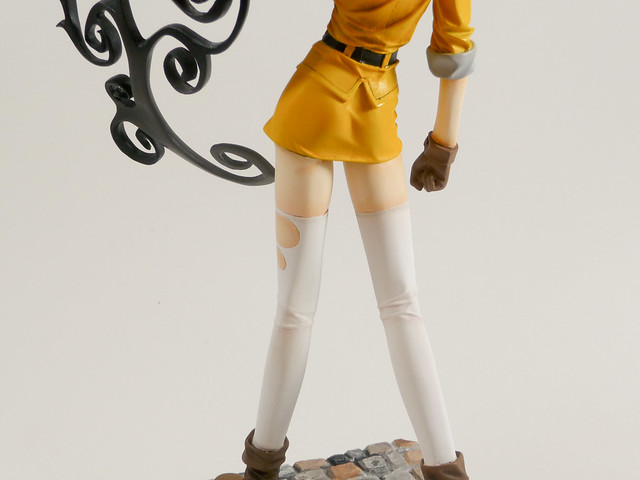
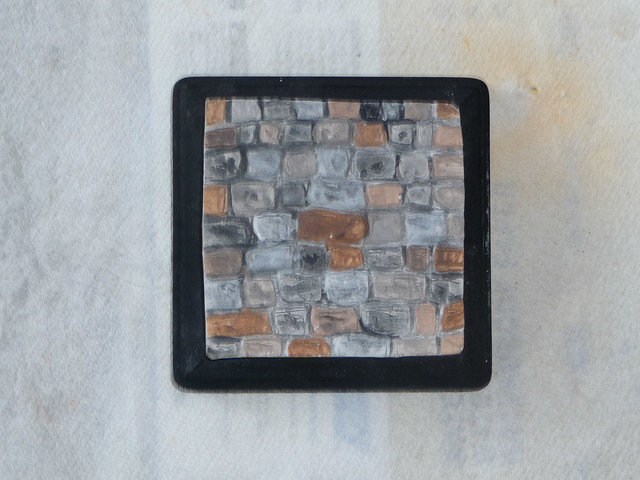
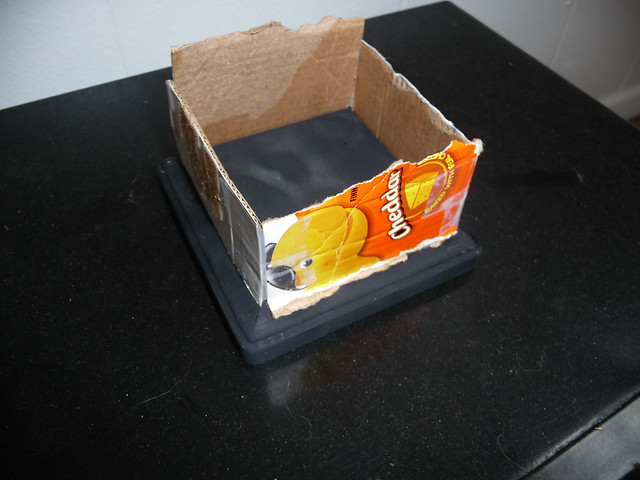
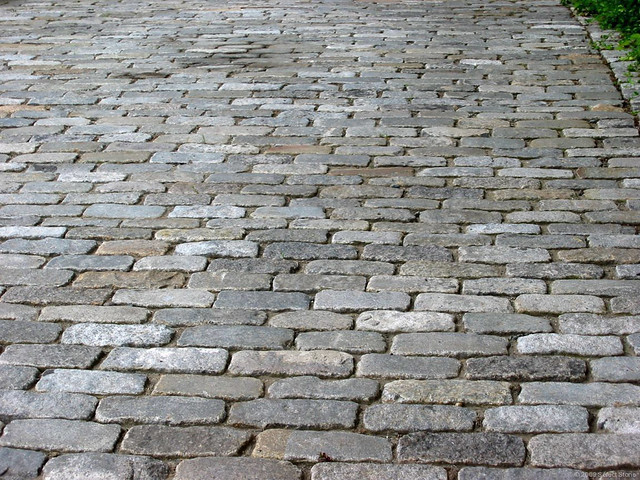
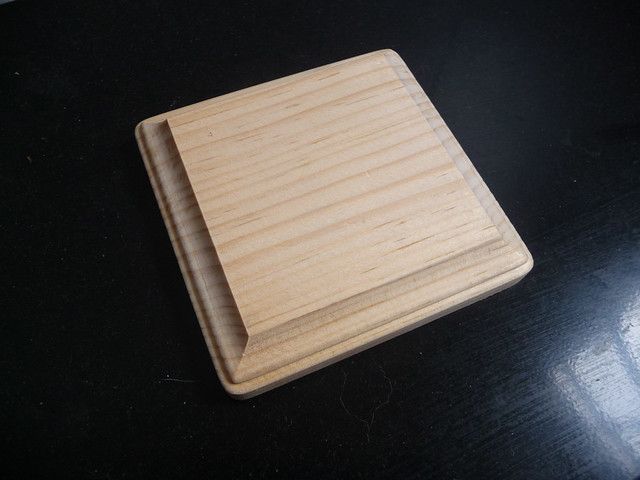
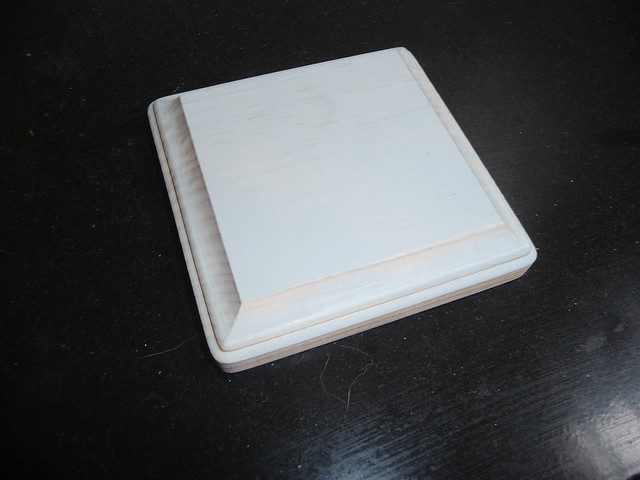
I have also been working on a base for the kit. My plan is to have the base to have a cobblestone look since Hellsing takes place in England and I thought that the cobblestones would fit. I used a small square wooden base from Michael's and painted the base black.
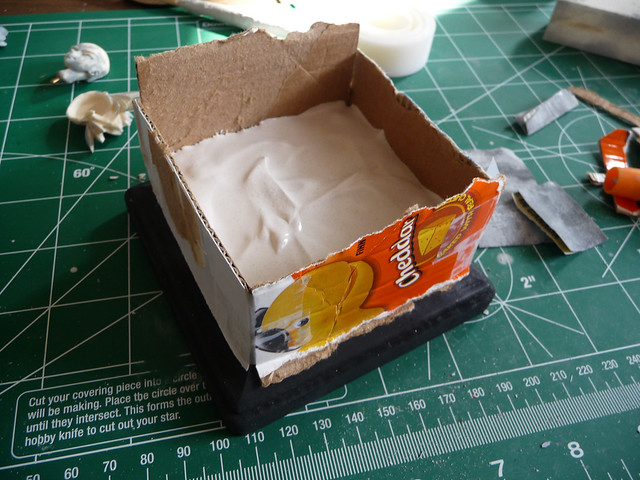
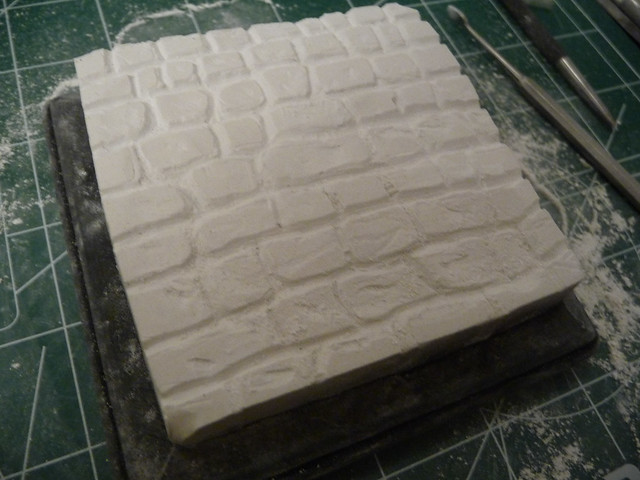
Then I made a box frame out of some cardboard and poured plaster of paris into it about an inch high. I remember FichtenFoo making a
stone lighthouse using this method and thought that if he got good results I should just go ahead and try to emulate that.
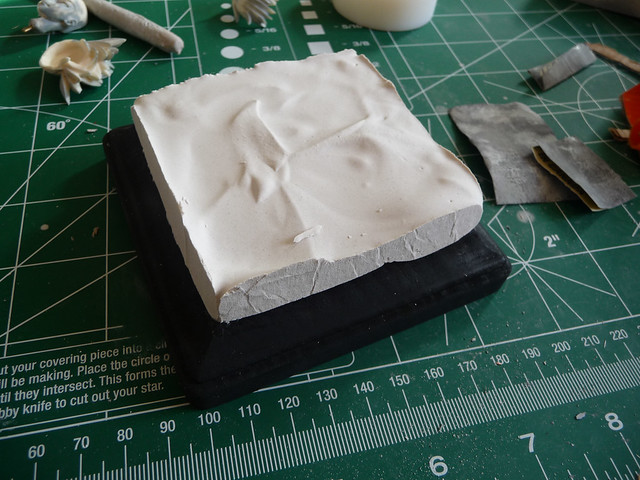
After the plaster dried I sanded the top a bit to make it flatter so the figure would be able to stand flat on the base. I then used scribing tools to carve out a cobblestone pattern. I plan on painting it with some acrylics.
Some reference images for the cobblestone:
And after scribing the plaster I was able to get a suitable pattern in the base.