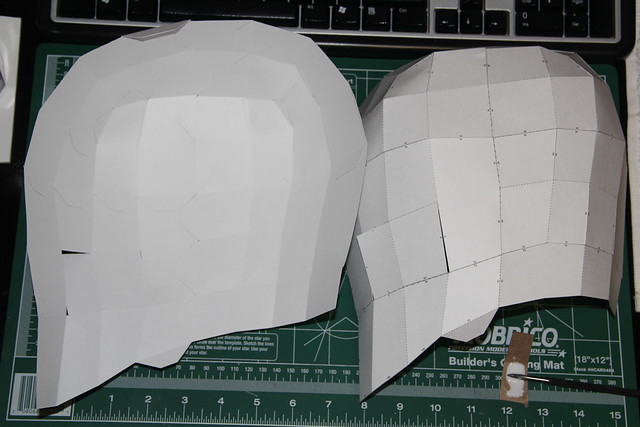
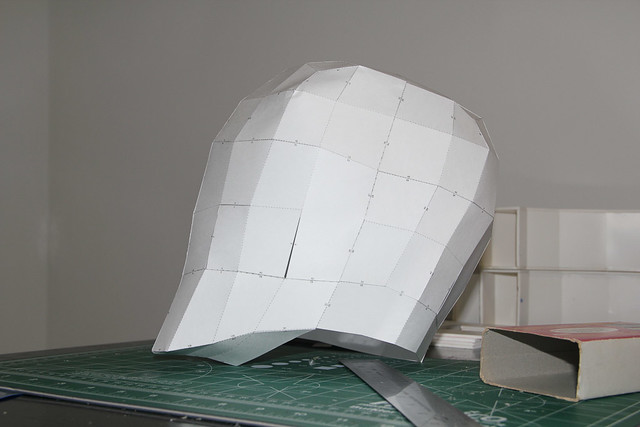
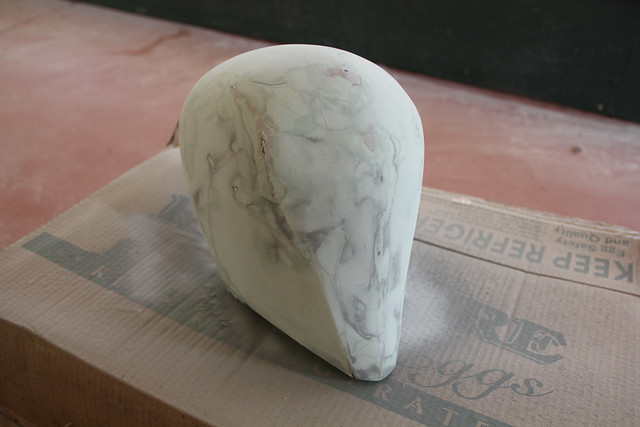
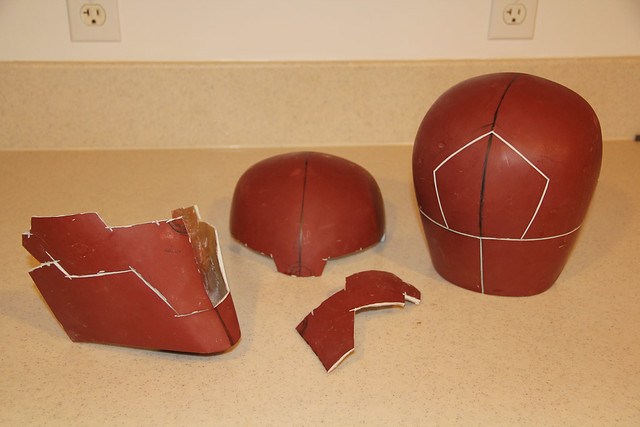
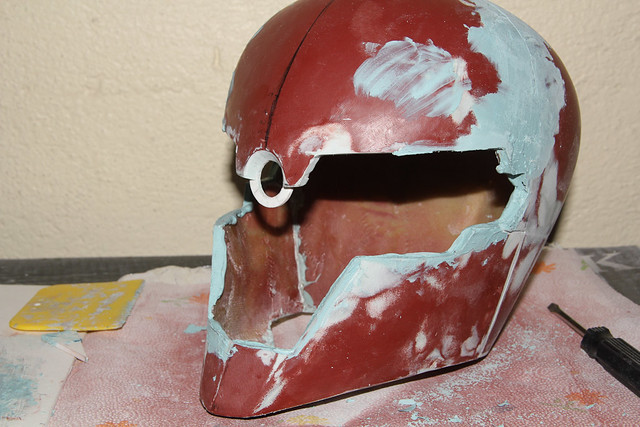
I taped everything together to check for what areas needed more work.
You can see here that there's a gap in the fit of some pieces in the horizontal direction, namely the bottom pieces. This is because they're under stress but because it was one piece before it wasn't evident. When it gets cut apart they naturally flex in a bit to relieve the stress. I can just skim some body filler on those areas later.
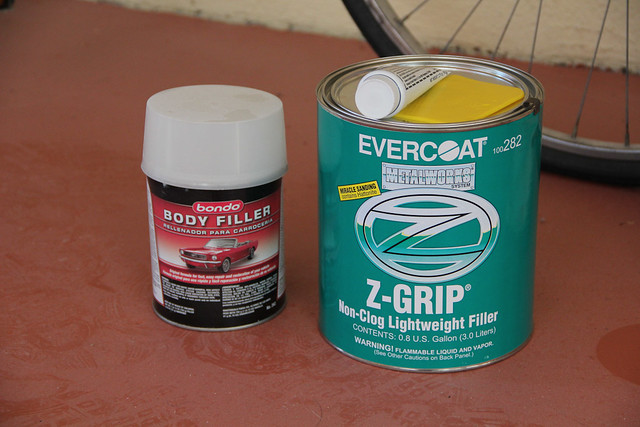
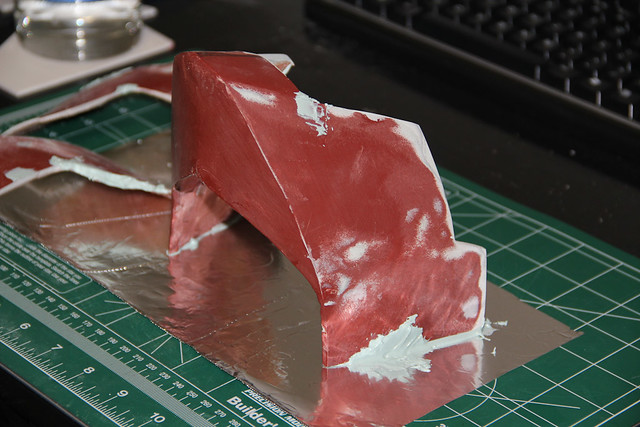
The way that I'm fixing edges is by using the "bondo squish" method. I'm using aluminum foil there because body filler doesn't stick to foil very easily. I cover the edges in some body filler and just lay it down on a flat surface. When the body filler dries I have a nice flat surface and both sides are also parallel with each other.
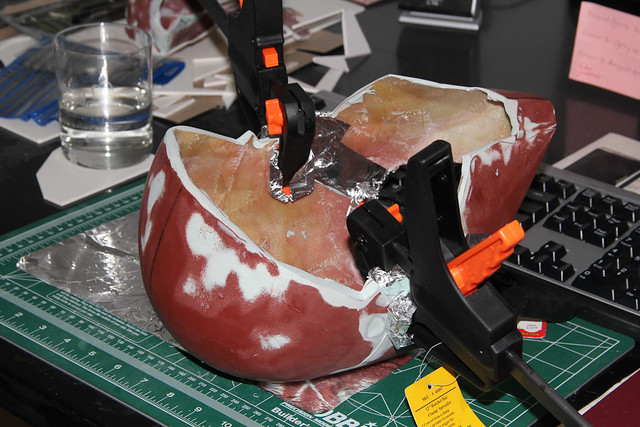
For the gap where two pieces come together I had to employ some clamps. I covered the clamps in aluminum foil too so they don't get covered in body filler.
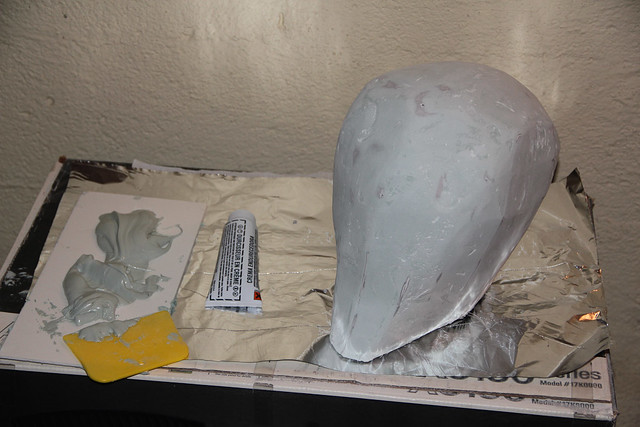
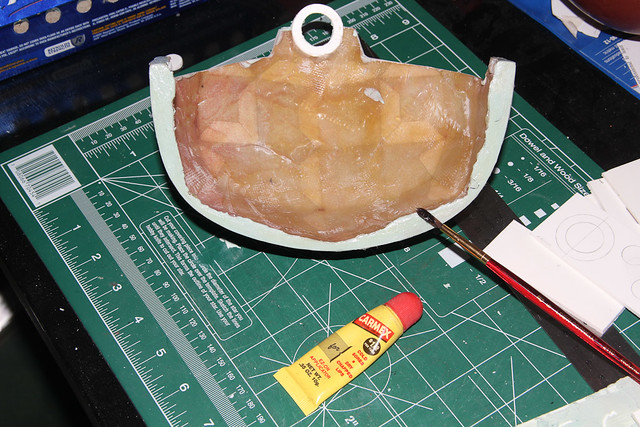
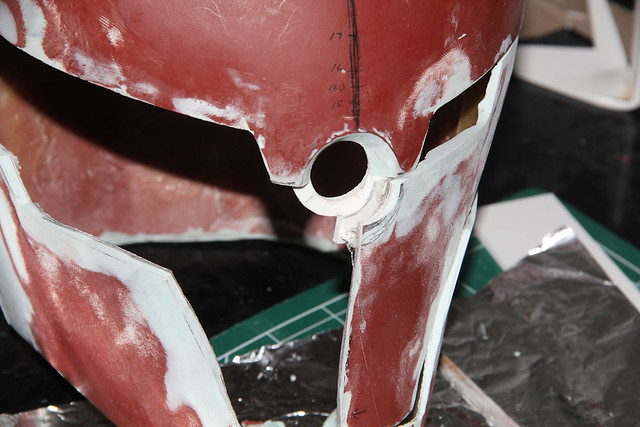
There's a round piece in the front center of the helmet that will eventually contain an LED. I cut a circle from sintra and hot glued it the forehead piece of the helmet. The final sizing was tweaked a bit to match available sizing of acrylic rod so the OD is 1 1/4" and the ID is 3/4".
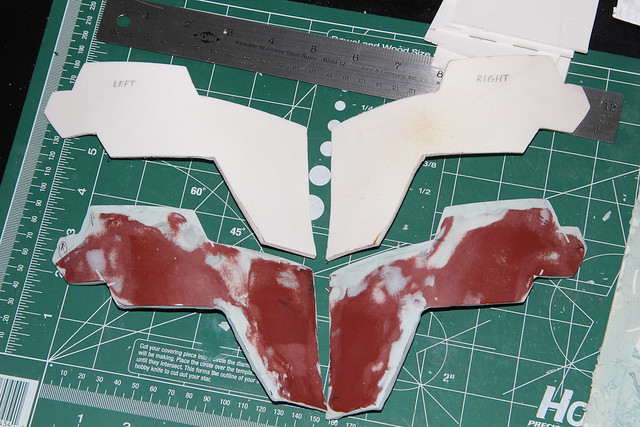
I probably should have done this a lot earlier. The two cheek pieces are not totally identical because of it being cut out with a Dremel and I can't make perfect cuts with it yet. So I used my original paper template and made two sintra templates which I sandwiched together and finished the edges together so they're more accurate.
I then heat formed them to the actual cheek pieces so I can get the cheek pieces to match these templates. That made the cheek pieces more symmetrical with each other.
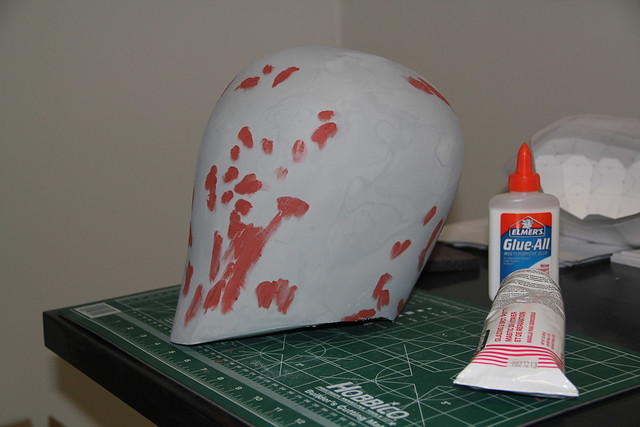
Here's the forehead piece with the sintra circle from earlier. It was hot glued into place and then skimmed with body filler to create the bevel.

For the "bondo squish" method I use a brush and some chapstick to coat one surface, apply some body filler to the other side, and press together. The side with chapstick comes off without any body filler sticking to it.
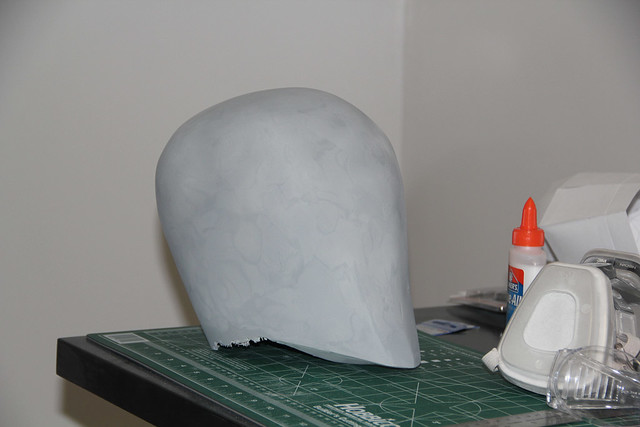
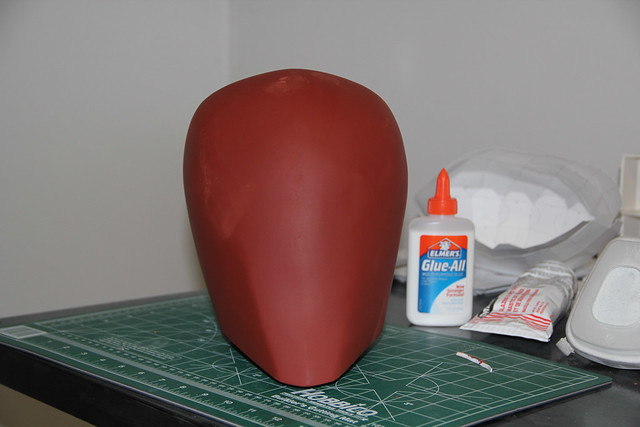
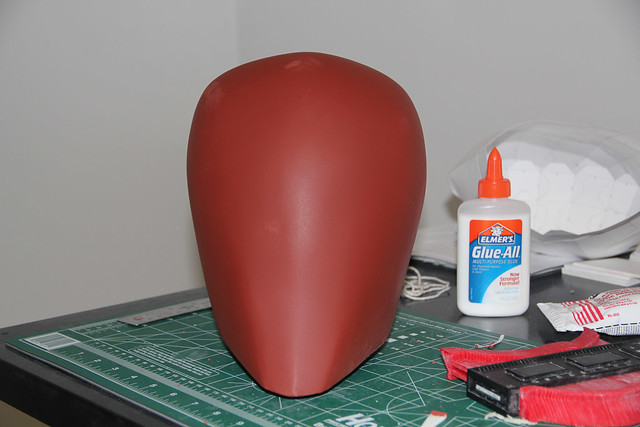
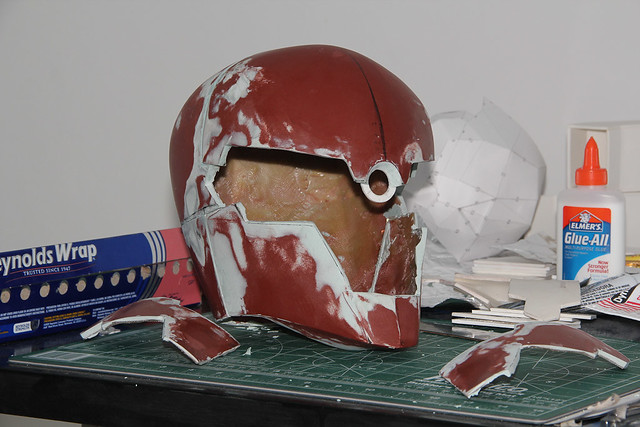
Here's the forehead piece connected to the back of the helmet. The connection made between those two pieces is really quite nice thanks to the above method.
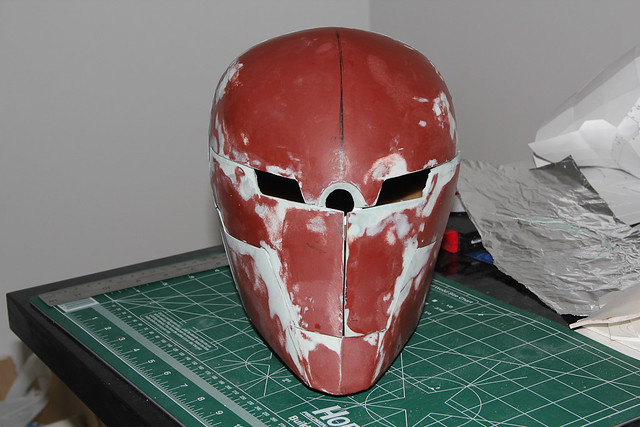
Mockup of the pieces together. The cheek pieces still need to have the central eye area cut out.
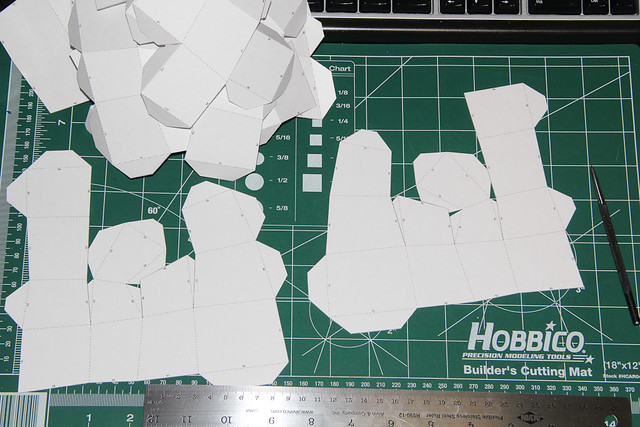
I cut out some sintra pieces.

Which are then hot glued in place and then skimmed over in body filler before being sanded down.
More body filler followed by more sanding.
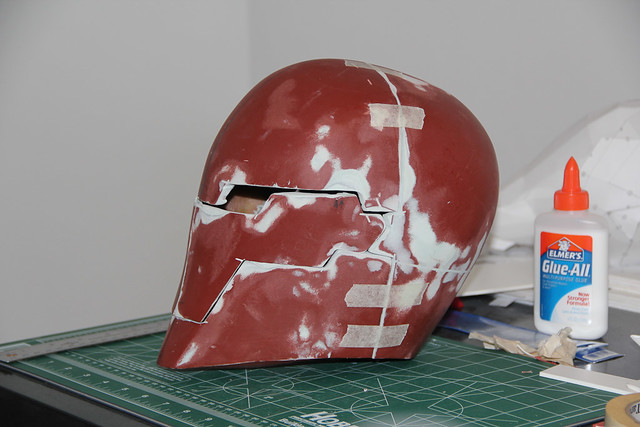
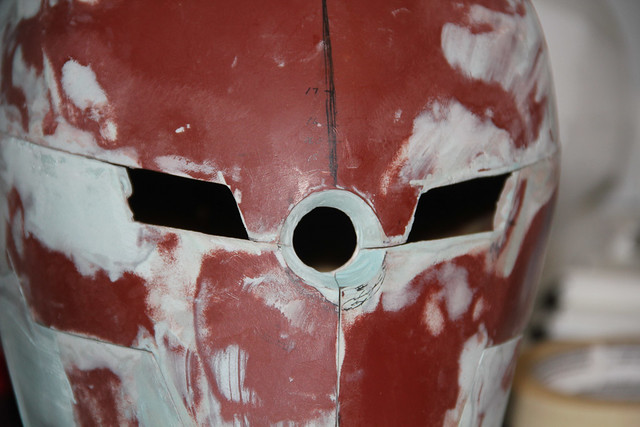
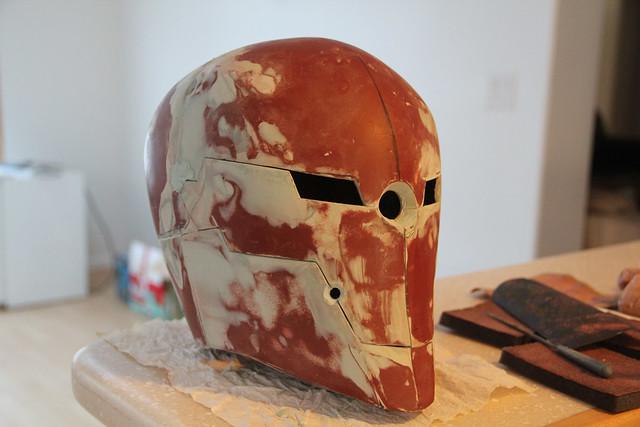
Detail shot of the central eye area. Still needs a bit of work on the cheek pieces. It needs to be widened up a bit to match the top.
Cutting out some more pieces out of sintra for the smaller sensors.
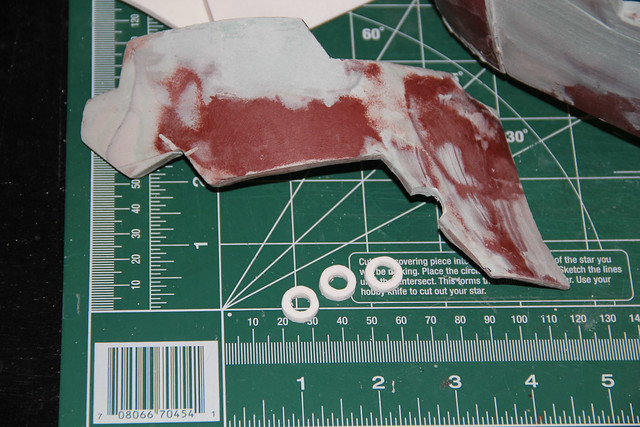
Here are some of those sintra pieces fit in place. They're pressure fit for now.
I had to cut some of them in half where pieces come apart. These were hot glued in place and skimmed with body filler to create the bevel. All of these pieces are sunk 1/8" - the thickness of a the sintra I'm using (I used a circle of sintra as a gauge).

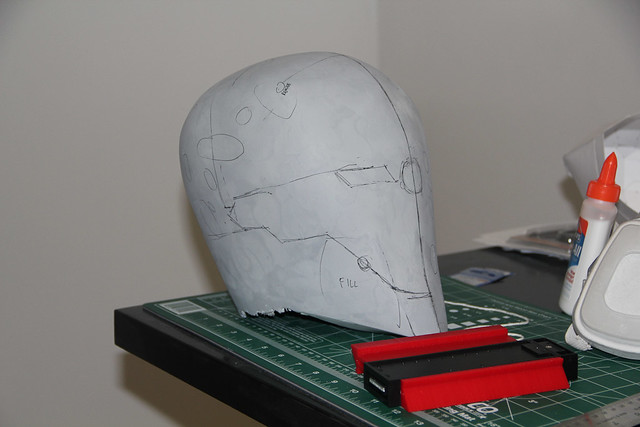
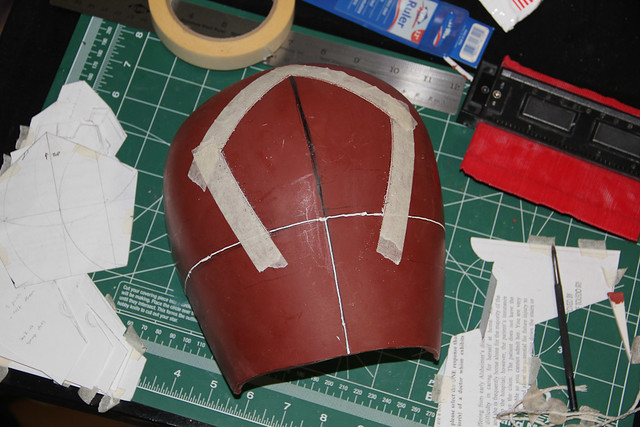
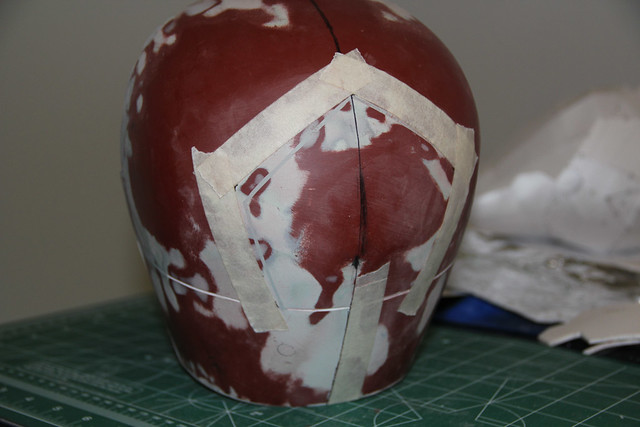
I realized that the center line wasn't actually straight in the back so I had to redraw it. Coincidentally the pentagon wasn't symmetrical so I just redid all of those detail areas. Two layers of masking tape makes it a bit easier to work along.
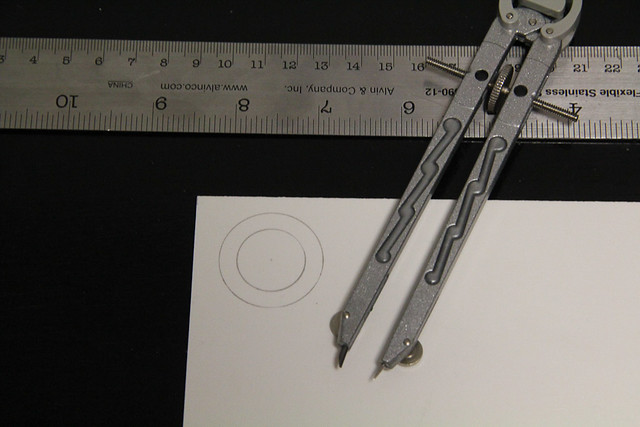
The lines were cut using a dremel with a cutoff wheel and a steady hand. I went back over it with a small hand file to clean it up. The circles were marked using a drafting template from an engineering class.
Circles cut out using a dremel.
Sintra circles inserted and hot glued in place.


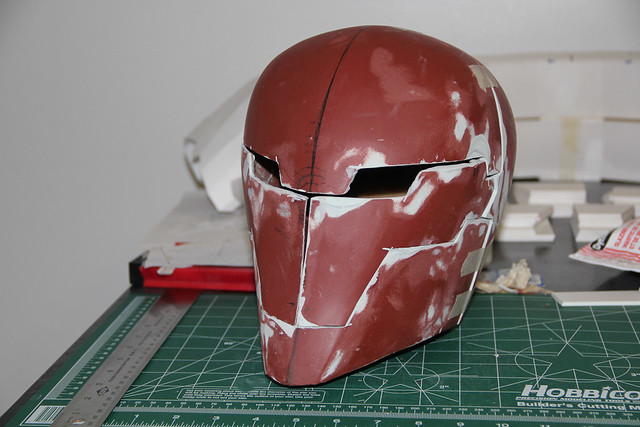
Again, skimmed in body filler. I find it's easy to use a utility/hobby knife after it sets to trim and clean it up (for me is about after 10-15 minutes). Timing will vary based on how much hardener you use but it's best to carve when it's firm but before it fully cures.
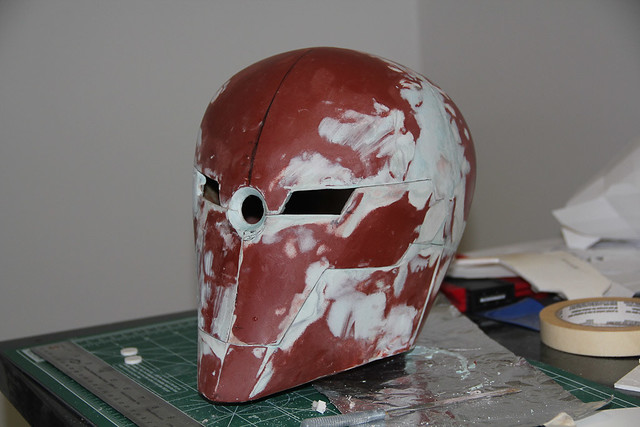
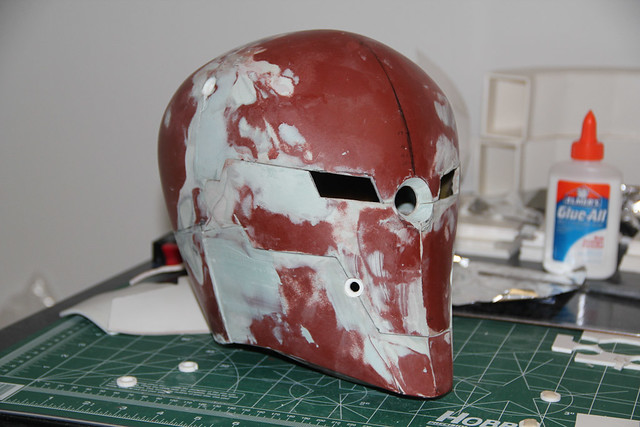
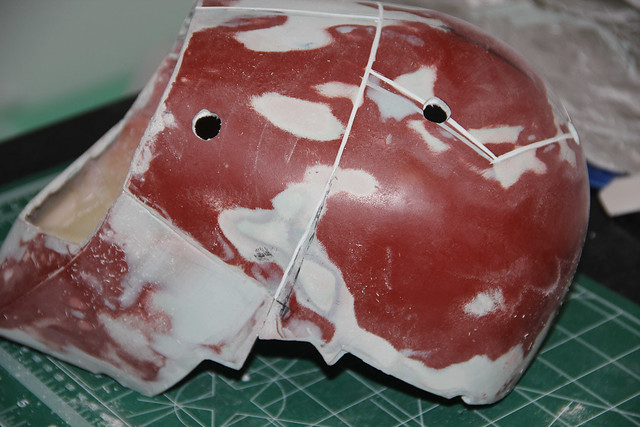
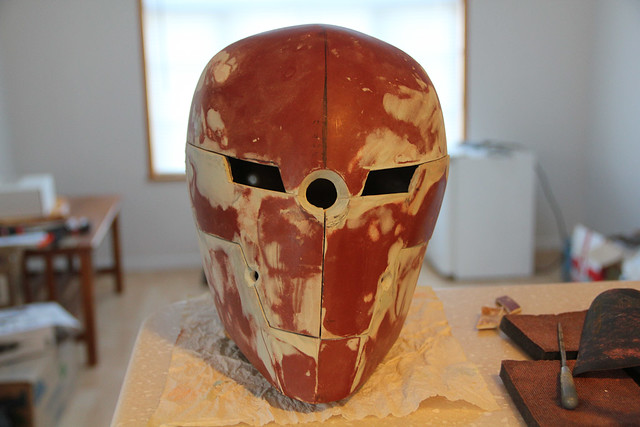
Another test fit of all the pieces together. This should be the final iteration. Every time I make some small change it messes with the fit of the pieces and this time when I corrected the lines where the pieces meet on the side (namely where the cheek meets the forehead piece and the back of the helmet) it really messed it up. It took me about 2 hours to get the fit to this level. Referencing some earlier images it seems like the fit isn't quite as good but I think at this point it'll still work fine.
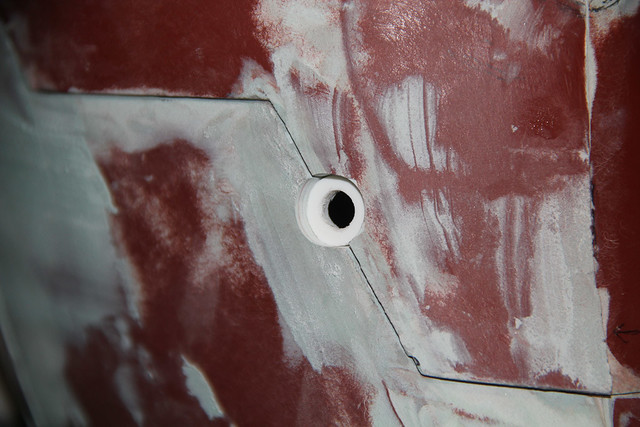
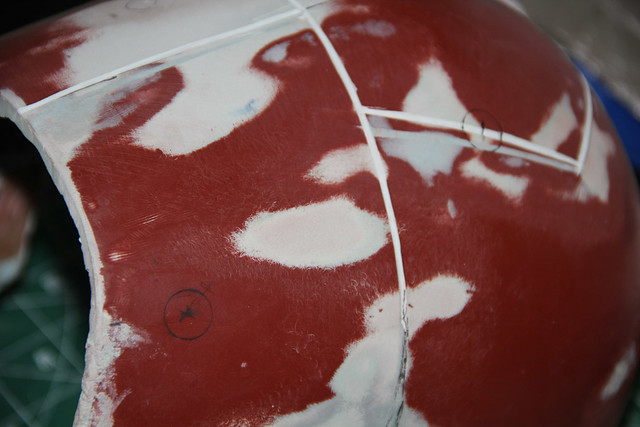
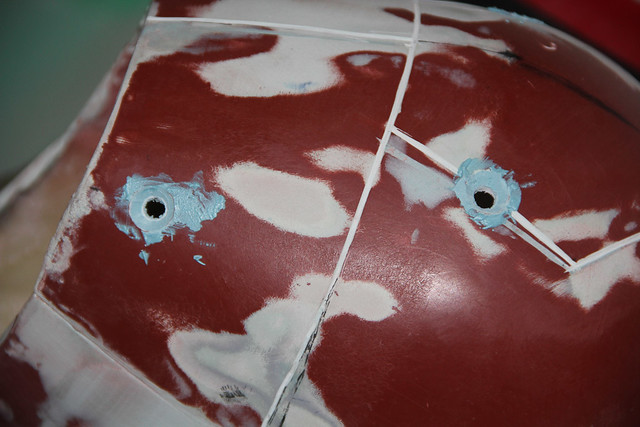
Back of the helmet. The top hole contains a piece of 1/4" acrylic rod which is what the small sensors will be made of.

The small button parts are 1/4" and the beveled hole has an OD of 1/2".
Here's the forehead piece with the sintra circle from earlier. It was hot glued into place and then skimmed with body filler to create the bevel.
For the "bondo squish" method I use a brush and some chapstick to coat one surface, apply some body filler to the other side, and press together. The side with chapstick comes off without any body filler sticking to it.
Here's the forehead piece connected to the back of the helmet. The connection made between those two pieces is really quite nice thanks to the above method.
Mockup of the pieces together. The cheek pieces still need to have the central eye area cut out.
I cut out some sintra pieces.
Which are then hot glued in place and then skimmed over in body filler before being sanded down.
More body filler followed by more sanding.
Detail shot of the central eye area. Still needs a bit of work on the cheek pieces. It needs to be widened up a bit to match the top.
Cutting out some more pieces out of sintra for the smaller sensors.
Here are some of those sintra pieces fit in place. They're pressure fit for now.
I had to cut some of them in half where pieces come apart. These were hot glued in place and skimmed with body filler to create the bevel. All of these pieces are sunk 1/8" - the thickness of a the sintra I'm using (I used a circle of sintra as a gauge).
I realized that the center line wasn't actually straight in the back so I had to redraw it. Coincidentally the pentagon wasn't symmetrical so I just redid all of those detail areas. Two layers of masking tape makes it a bit easier to work along.
The lines were cut using a dremel with a cutoff wheel and a steady hand. I went back over it with a small hand file to clean it up. The circles were marked using a drafting template from an engineering class.
Circles cut out using a dremel.
Sintra circles inserted and hot glued in place.
Again, skimmed in body filler. I find it's easy to use a utility/hobby knife after it sets to trim and clean it up (for me is about after 10-15 minutes). Timing will vary based on how much hardener you use but it's best to carve when it's firm but before it fully cures.
Another test fit of all the pieces together. This should be the final iteration. Every time I make some small change it messes with the fit of the pieces and this time when I corrected the lines where the pieces meet on the side (namely where the cheek meets the forehead piece and the back of the helmet) it really messed it up. It took me about 2 hours to get the fit to this level. Referencing some earlier images it seems like the fit isn't quite as good but I think at this point it'll still work fine.
Back of the helmet. The top hole contains a piece of 1/4" acrylic rod which is what the small sensors will be made of.
The small button parts are 1/4" and the beveled hole has an OD of 1/2".