The popular choices for woods seems to be maple and walnut as they're both hard and the two woods contrast nicely. I got some lumber from a local shop and ended up spending about $50 on enough to make 2 cutting boards. Plans ended up changing but more on that in a bit. I got the boards planed down to about 1 1/4" thick at the lumber shop since I don't have a planer and they charge $3 per piece which isn't too bad of a price.
I started off making a design for the cutting board using some pretty nifty software called CBDesigner. The only disclaimer is that I had a hard time trying to get it to work on my Windows 7 machine but we have an old Windows XP machine back home that ran it perfectly. This program lets you plan out your cutting board where you can alternate different woods of varying thicknesses. It'll tell you how much wood you need based on table saw blade kerf and other information. It really came in handy.
After that it was off to cutting the boards to the correct widths. I would set the fence up and then cut both a piece of maple and a piece of walnut without moving the fence. This way you ensure that both pieces are as close in dimension as possible.

It's easier to rotate all the pieces 90 degrees to the right (or left, as long as it's all in the same direction). Then just spread a generous amount of wood glue. I used Titebond II here since it's safe for indirect food contact which is what a cutting board will be. Some people use Titebond III but from my research Titebond II works just as well unless you're planning on keeping it submerged. Please don't actually do that to a wood cutting board.
Rotate all the boards and then clamp it together. Leave it for a few hours although overnight is preferred. About 30 minutes in check on the glue squeeze out. If it's not still runny then you can scrape it off to make it easier to clean up the surface later. I didn't actually use any cauls here although I probably should have but I figured I had enough clamps that it was going to be pretty straight.
After everything was dried I used a bench plane to smooth the surface. I don't have a picture of me planing this surface but rest assured it was a time consuming process. If you're going to buy a hand plane from the store, make sure to spend some time tuning it up. They're usually not ready to go straight out of the box.
The glue up was then cut vertically in equal widths of 1 1/2". The reason it's cut to 1 1/2" widths is that when you rotate it the end grain will be facing up and the thickness will be that 1 1/2". I believe the blade kerf of the table saw was around 0.11" when I measured it. It was at this step that I realized that I had glued up the boards in the wrong order from what I had initially planned but the new design has actually grown on me.

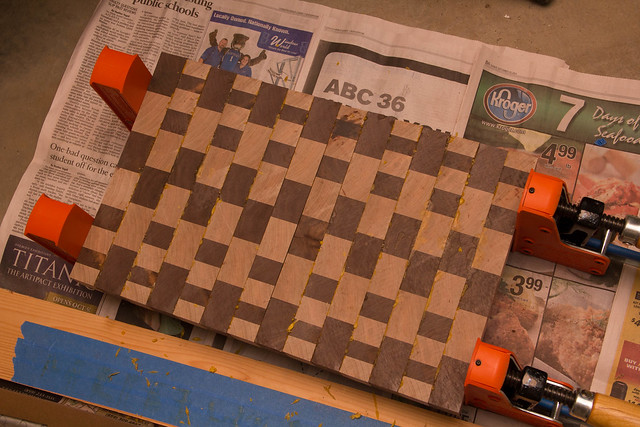
The fashionable thing to do is to flip every other strip, like so:
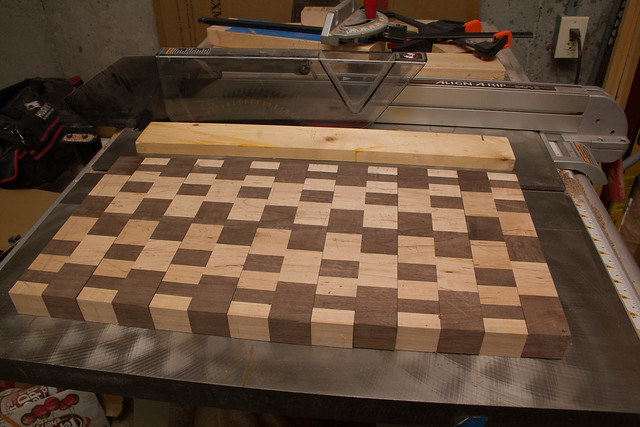
So initially it was supposed to be the really common checker pattern that you see a lot but I like the offset pattern quite a bit.
At this point I could either just make 2 cutting boards that would be 1 1/2" thick or I could make one that's 1 1/2" thick and two that would be half the thickness. I know that you're not "supposed" to go less than 1 1/2" for end grain cutting boards but two of them were going to be presents for relatives. I asked my mom and she said she didn't care if it was only 3/4" thick so that's what ended up happening to the rest of the wood.
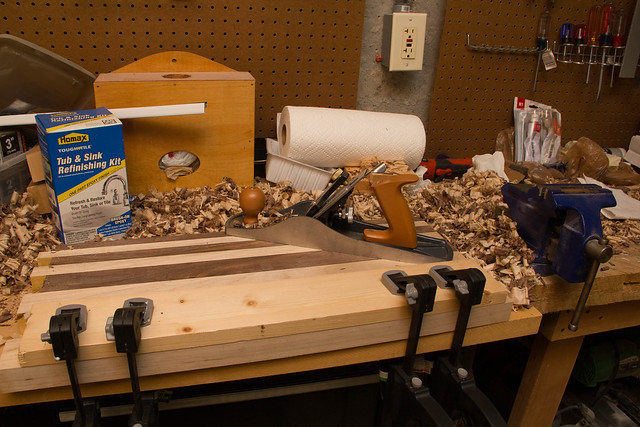
Here is the second board being planed. This would then get cut into 3/4" wide strips to make the final board.
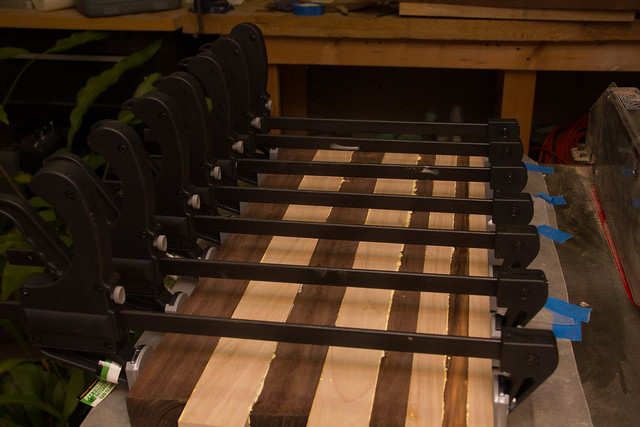
And here is the first board glued together. There were cabinet clamps at my parent's house which definitely were necessary for this project. This looks messy with the glue squeeze out but it'll get cleaned up later.
Now at this stage I tried to be really careful and attempt to use the bench plane to smooth out the surface. I don't have the proper hand/bench planes for doing end grain and so it didn't really go very well. I ended up just using a sander to sand the surfaces.
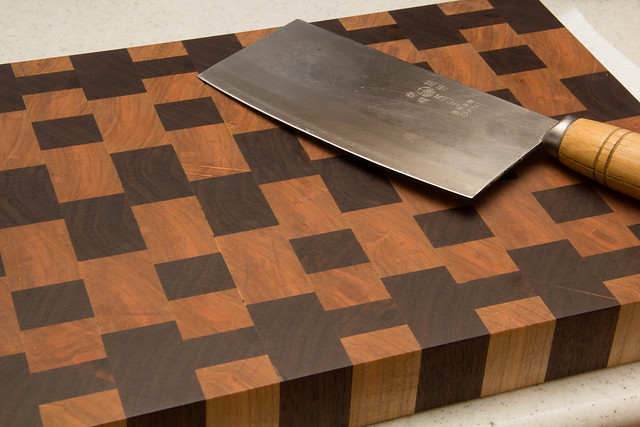
I'm finishing mine with mineral oil and boy was it satisfying watching the oil seep into the wood and really bring out the color and grain. Here's a comparison of with and without mineral oil:
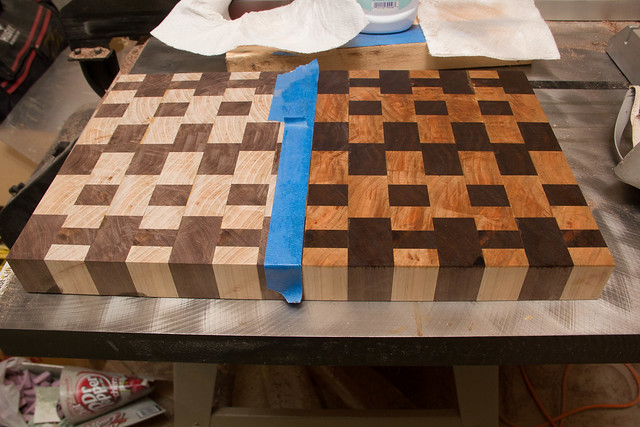
So in the above picture you can see the surface isn't very pretty. That's because of the mishap earlier from trying to plane the surface using the bench plane. After several hours of sanding I was finally happy with how the surface looked.
Here's the finished cutting board! Certainly not perfect but I'm pretty happy with how it turned out.