About a year and a half ago I started noticing some issues with my Samsung 220WM LCD monitor which I purchased Fall of 2007. It served me well but it started having issues turning on sometimes. Then a year ago it stopped turning on at all at which point I went to Best Buy and purchased a LG 23EA63 LED monitor.
I recall reading on reddit at some point about someone repairing an old broken monitor by replacing some blown capacitors. I'm not sure why it's taken this long but a couple of weeks ago I decided to disassemble my broken Samsung monitor to see if I could identify any blown capacitors.
I started off by removing the desk mount which is held in by 4 screws, then proceeded to pry open the plastic bezel. I did this using some metal putty knives (the ones you use to patch up your drywall). At first I was pretty scared of breaking the plastic but you can actually be pretty rough with it. I started off at the bottom corners, worked my way up the sides a bit, then opened up the entire bottom edge before working my way all the way around.
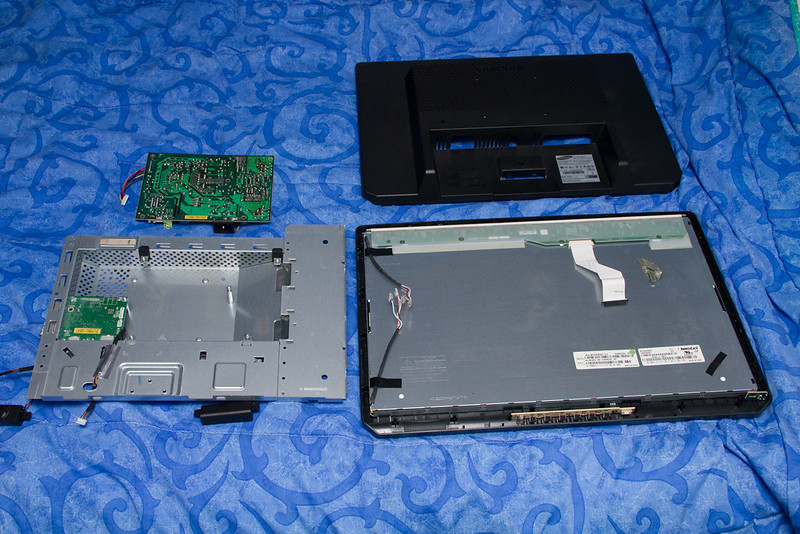
Here's what it looks like after removing the plastic bezels:
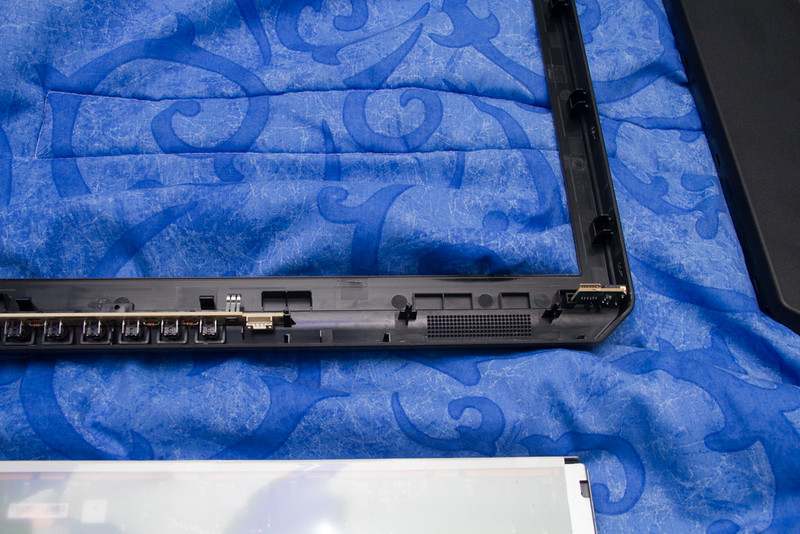
Close-up of the front bezel:

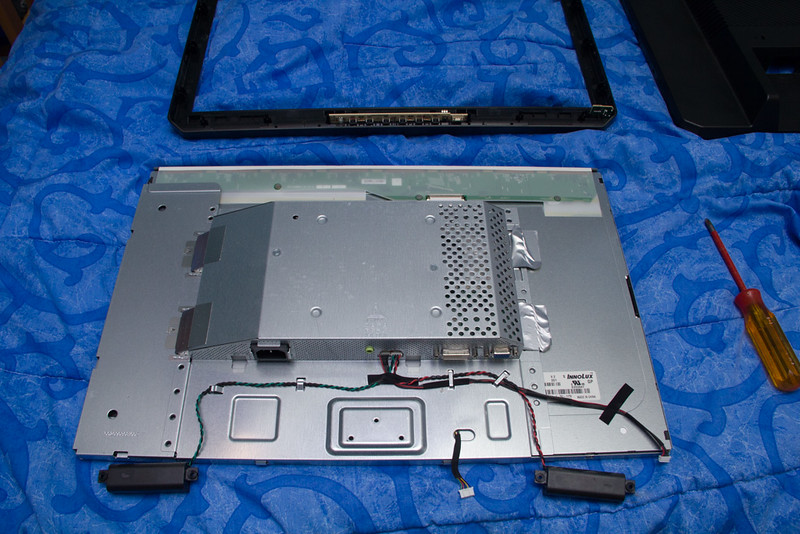
And here's what the back looks like with the bezels removed:


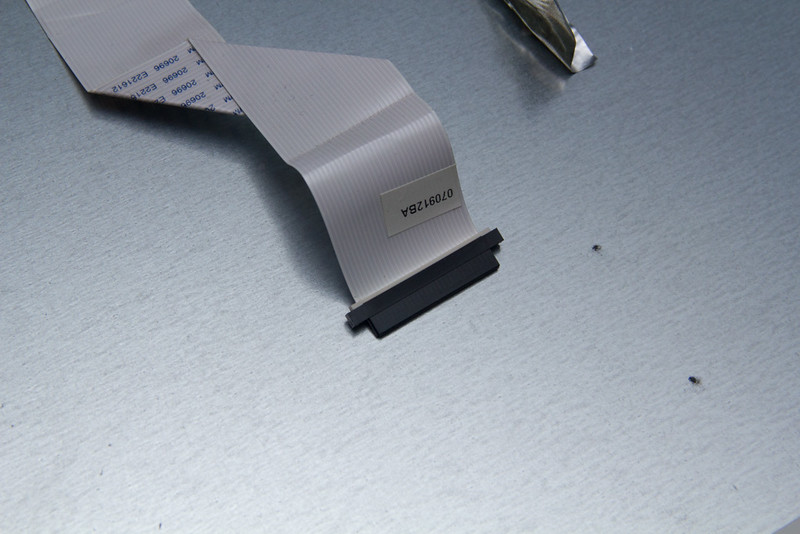
This is the ribbon that goes to the back:
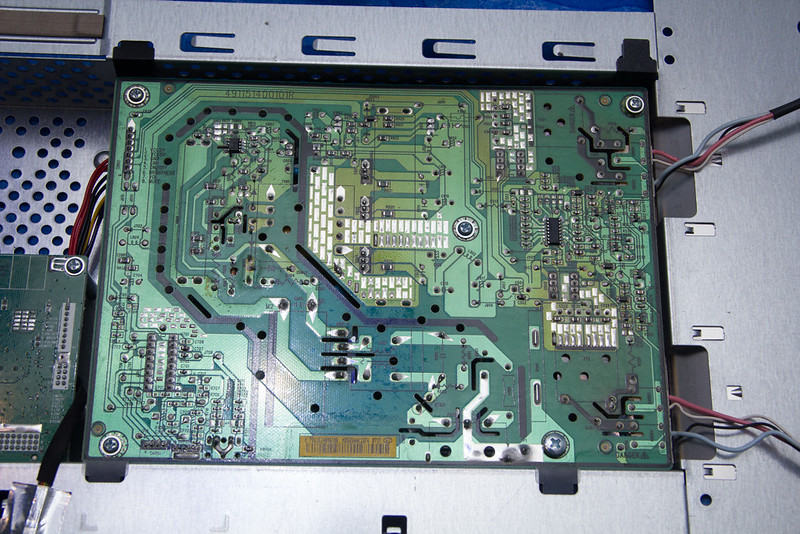
The board on the left side (looking from the back)
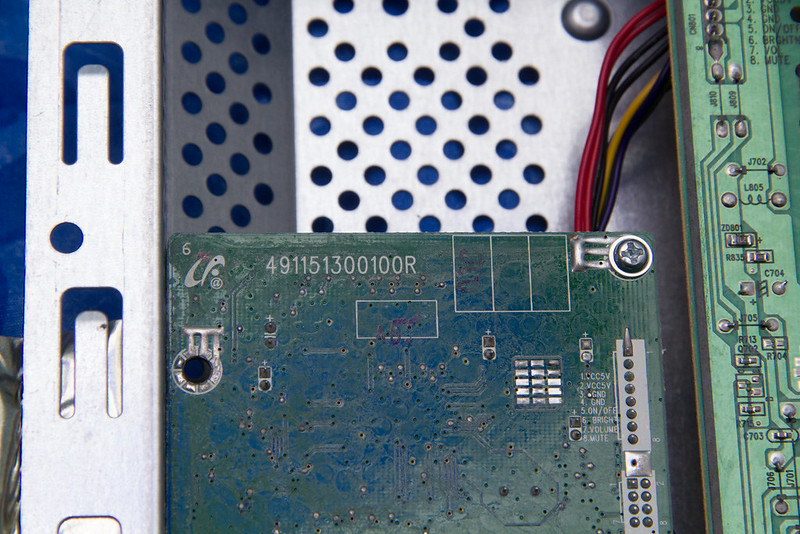
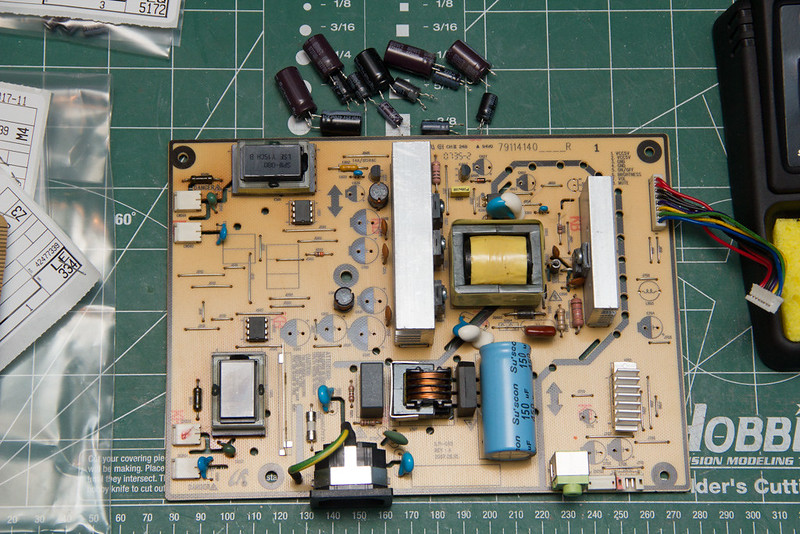
The main board, the one that contains the power supply:
A picture of some of the connector from the speakers for reference:

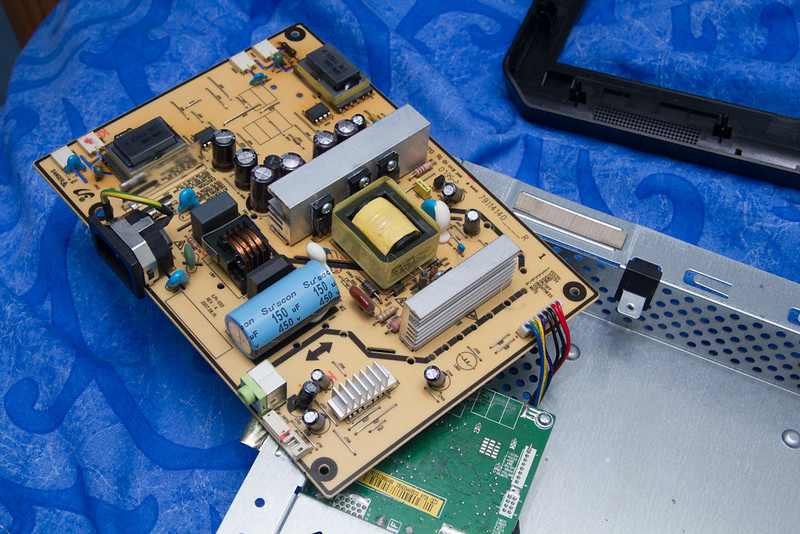
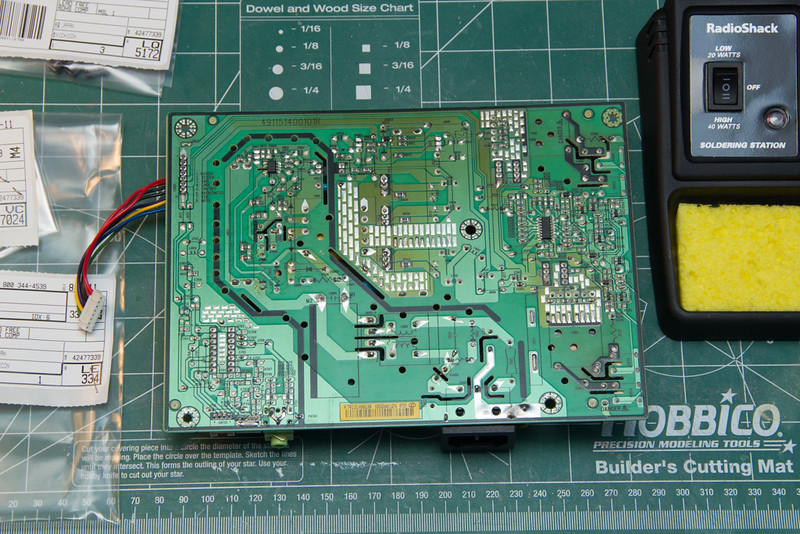
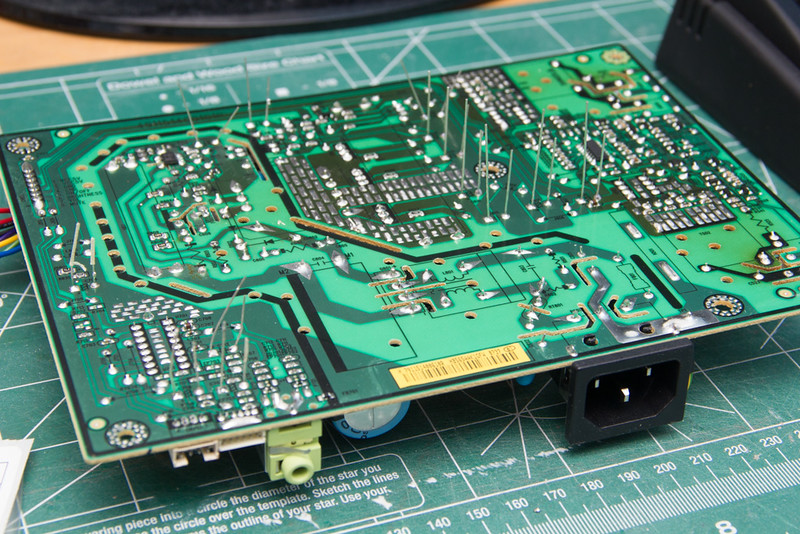
The main board flipped over:
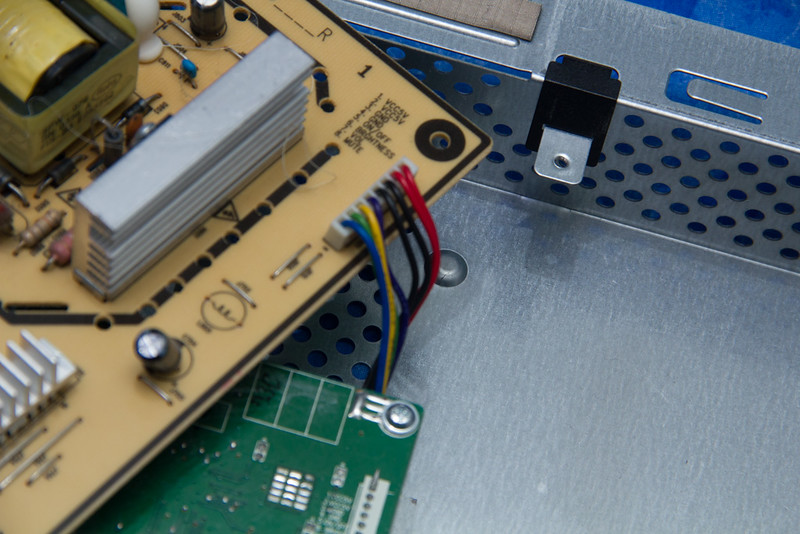
It was tough to remove the connector from the main board so I disconnected it from the other board:
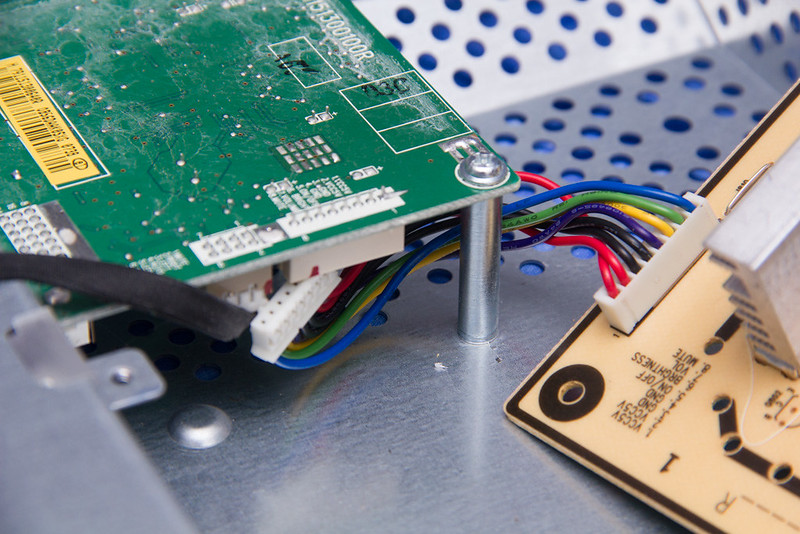
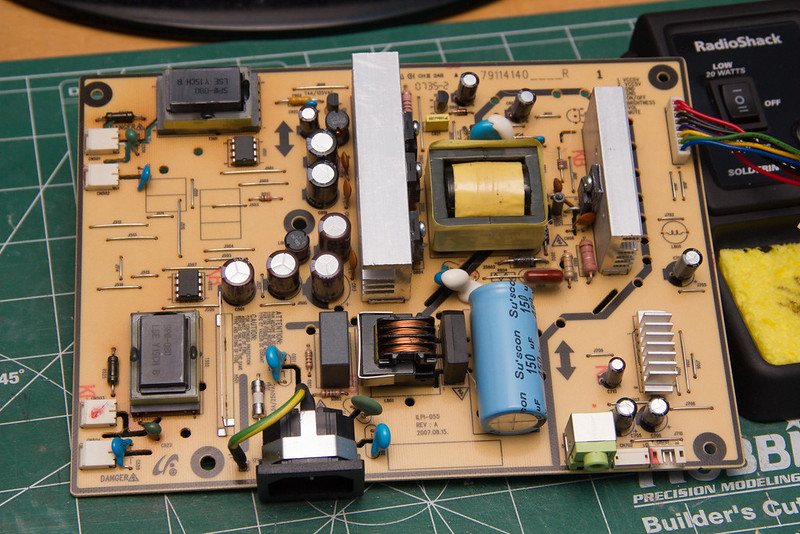
Main board disconnected:
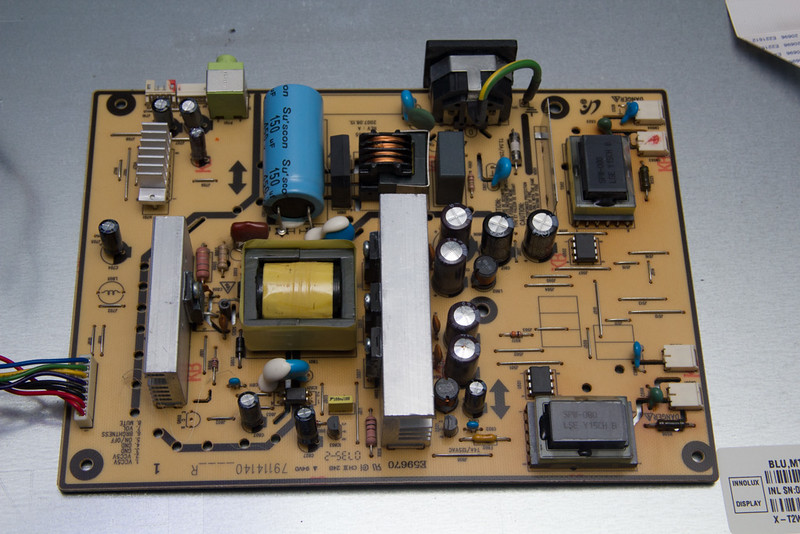
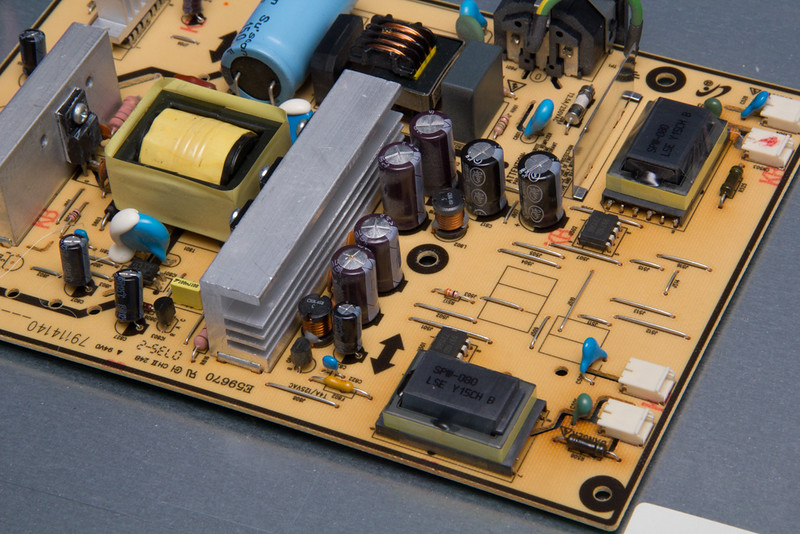
A close-up of the main board. Here you can see some of the blown capacitors which are bulging on the top. A majority of the capacitors are made by Su'scon which is a Taiwanese company. I did some research and found the site Badcaps.net.
They have a list of Bad Caps and also Good Caps
I used the list of Good Caps as a guide when searching for new caps on DigiKey
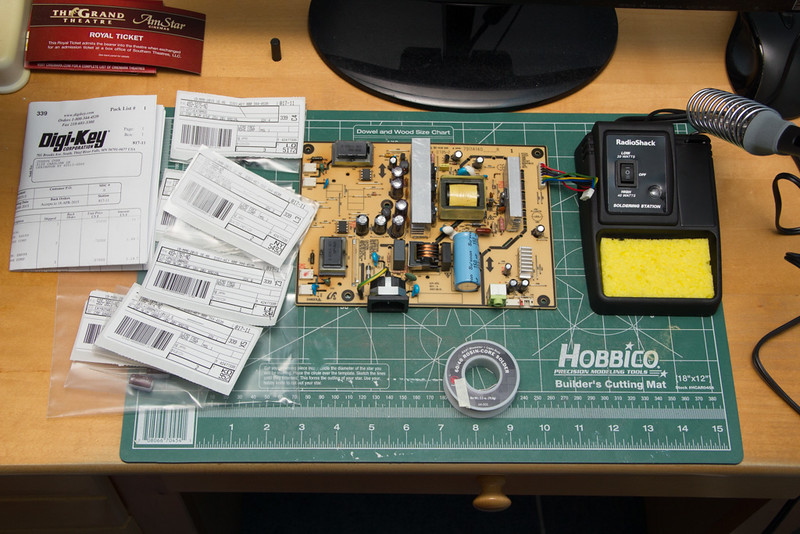
Here's the new capacitors I ordered. I opted to replace a total of 13 capacitors even though only 3 were bulging. I figured for less than $10 I could replace all of them and not have to worry about some other capacitors failing in a few months.
Here's a list of the ones I ordered:
(2) 1000uF 10V Rubycon
(2) 680uF 25V United Chemi-con
(2) 470uF 25V United Chemi-con
(3) 47uF 25V Nichicon
(3) 220uF 16V Rubycon
(1) 10uF 16V Nichicon
First capacitor removed:

All 13 capacitors removed:
Some of the capacitors

The capacitors soldered. I left all the leads in until I was done so I could snip them together. The last time I soldered anything was when I was in elementary school when my grandpa on my mom's side taught me. It took a couple tries to solder the first capacitor but I got the hang of it pretty quickly. It's so satisfying when you get a nice solder and it just wicks nicely.
The front side of the board with everything soldered. The board is tilted up because of the leads still in the back.
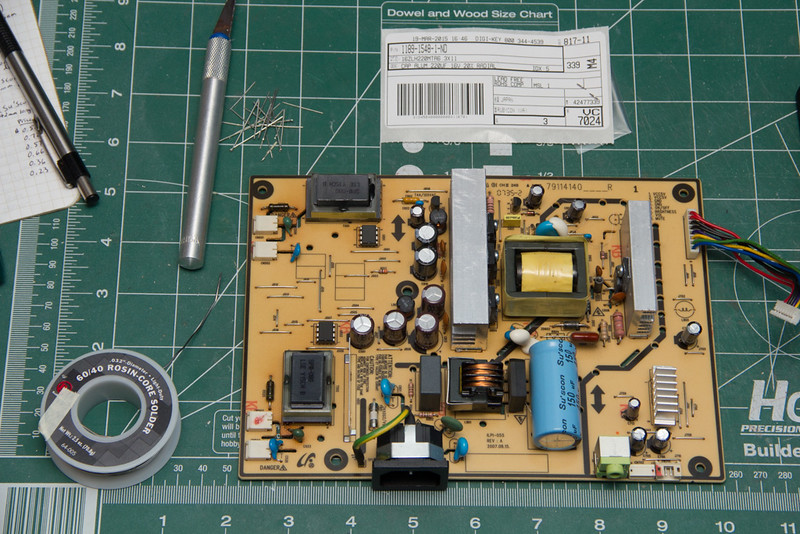
With the leads trimmed the board now sites flat.
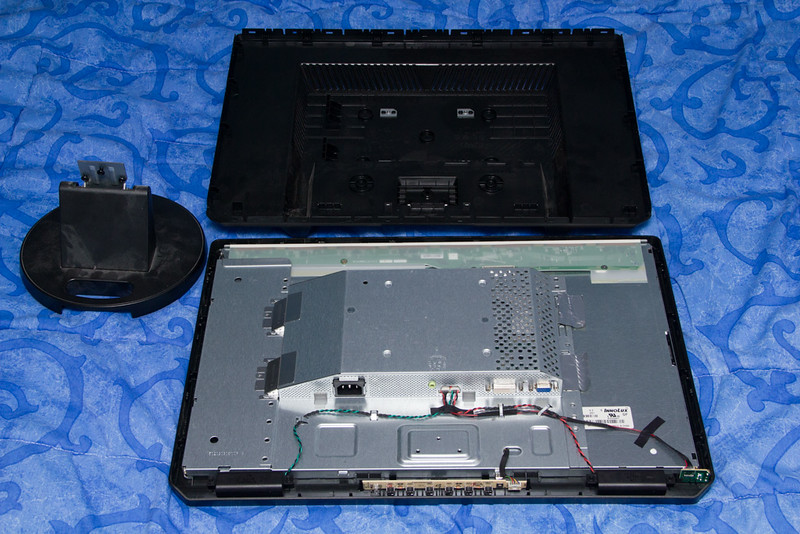
All the parts ready to be re-assembled.
Halfway through re-assembly. At this point I hooked it up to my computer to test if it worked. It was a huge relief when it powered on and showed my desktop! I wanted to make sure it worked before snapping the bezel back together since that was honestly the hardest part of the disassembly.
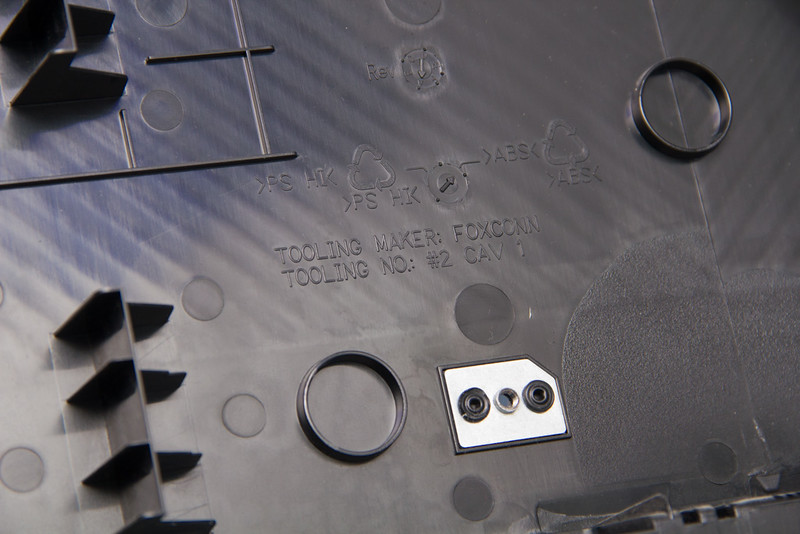
Apparently Foxconn was involved in the making of this monitor:
Double monitor setup!

No comments:
Post a Comment