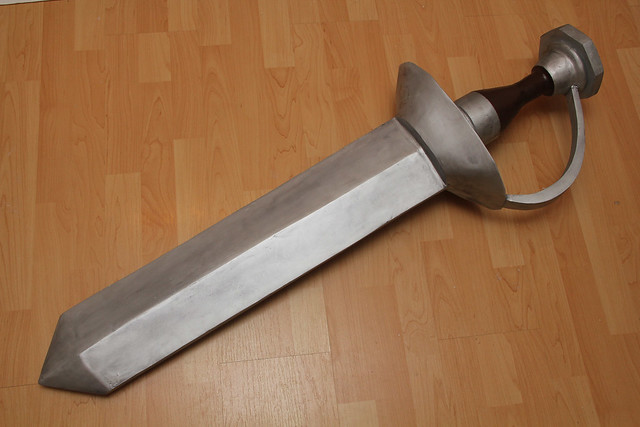
My friends and I are doing a Final Fantasy IX group and I was asked to make Steiner's sword. The sword is huge and has odd proportions because Steiner has massive hands. I scaled the sword using in game references to my friend's height.
The first task was to create the blueprint for the sword so I used Illustrator and did front and side views of the sword. I then got this printed out at FedEx/Kinko's since they have large scale printers. While it was really simple and straightforward and it's nice having one large sheet for the blueprint I may just cheap out and print it out on regular printer paper (tiling the sheets) in the future.
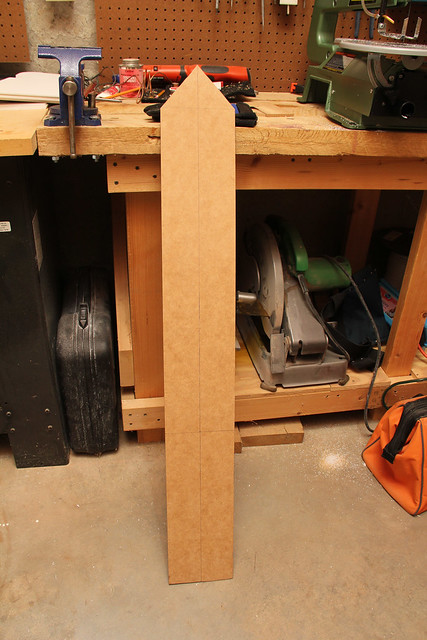
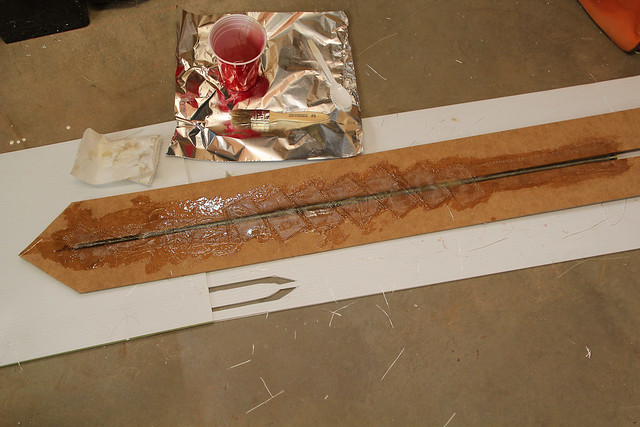
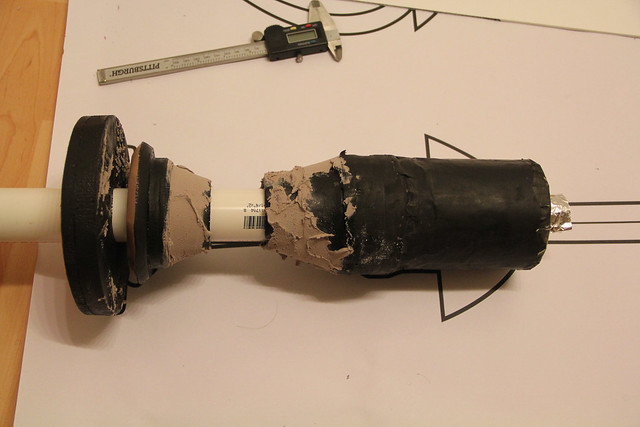
The core of the sword was constructed using 1/8" MDF with a threaded steel rod through the middle. The steel rod was then fiberglassed onto the MDF.

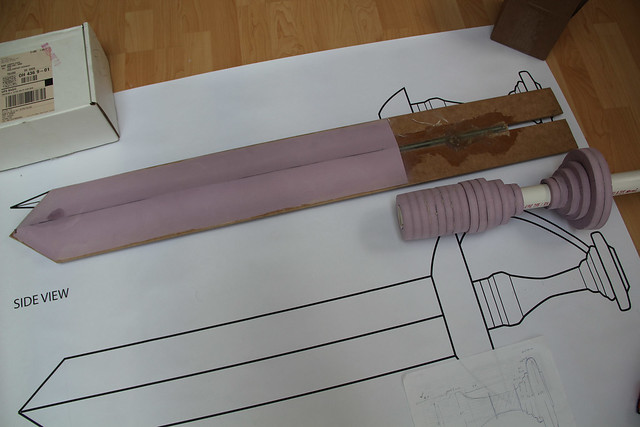
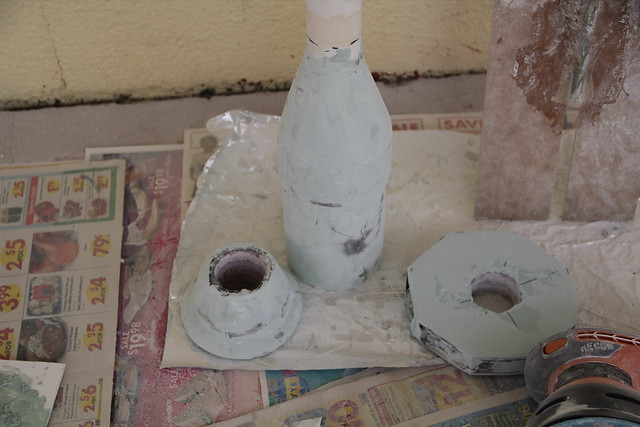
I used pink insulation foam to build up the thickness of the sword to try and cut down on the final weight. The handle is made using PVC with circles of pink insulation foam. The inside hole of the insulation foam was cut out using a hole saw bit for the power drill.

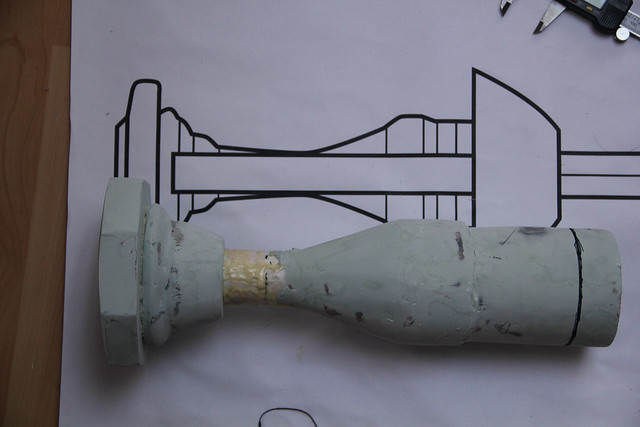
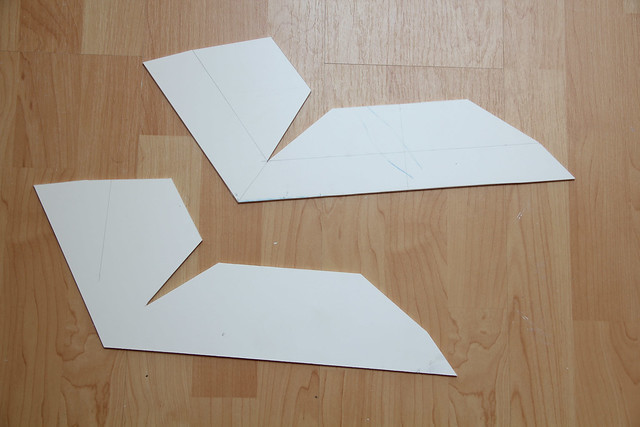
This was then double checked against the blueprint I made. The paper sketch below was to help calculate the sizing of the foam circles for the handle.
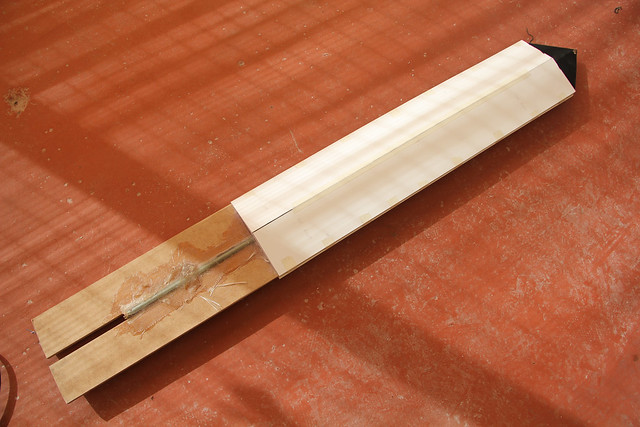
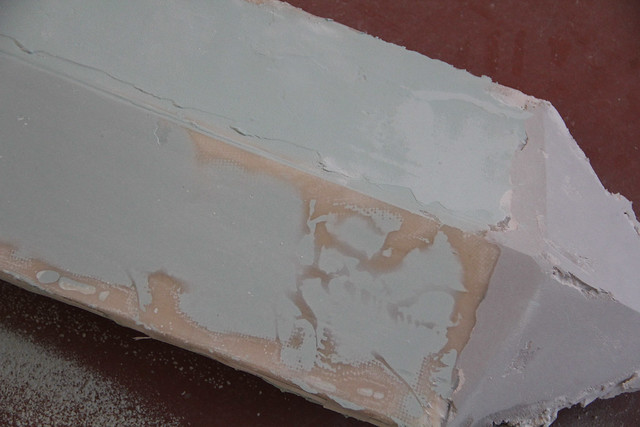
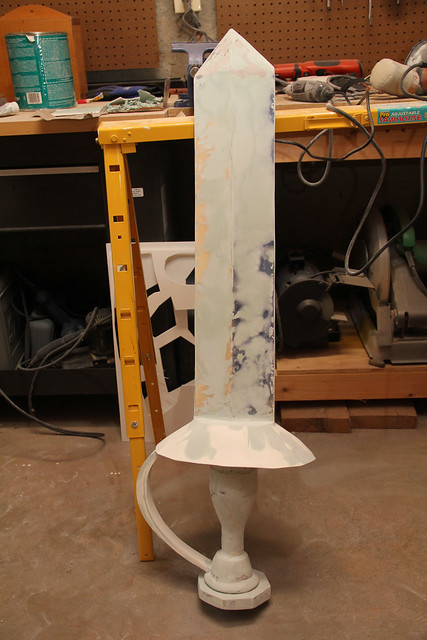
The pink insulation foam was covered in a layer of sintra to make the top surface smoother and harder. I cut out 4 sintra panels, one for each surface.
The handle pieces were coated in acrylic paint after some initial shaping and then I put some Bondo on it to smooth out a few surfaces.
I wanted the handle to be sturdier so I fiberglassed it but I learned that acrylic paint isn't enough of a barrier. It's enough for body filler but fiberglass resin is too liquid so it will still get into small gaps. So at this point the handle is just a mess.

While I was on a fiberglassing streak I went ahead and fiberglassed the entire blade as well. I had some issues with the edges when I tried to fold the fiberglass cloth over the edge. It would bubble out. I talked to Aaron from Fiberglassblades (the guy who makes all the Zelda swords and shields) and he said for edges it's better to lay the fiberglass so it hangs over the edge, sand it down and repeat for the other side.

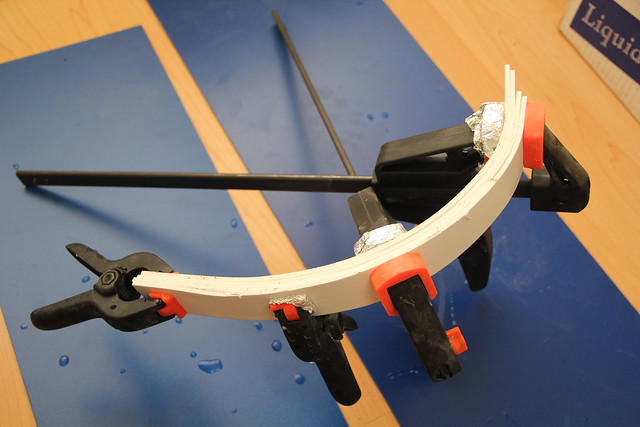
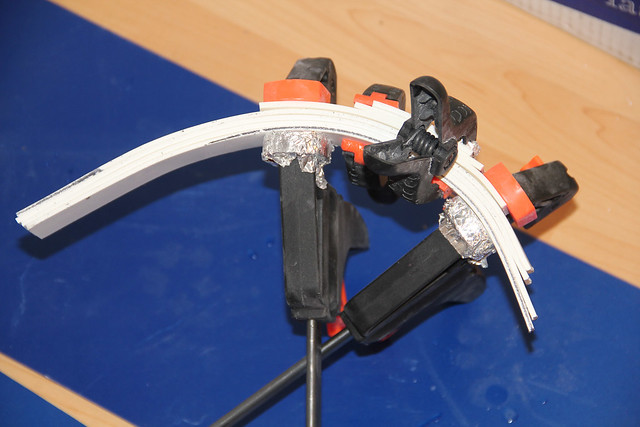
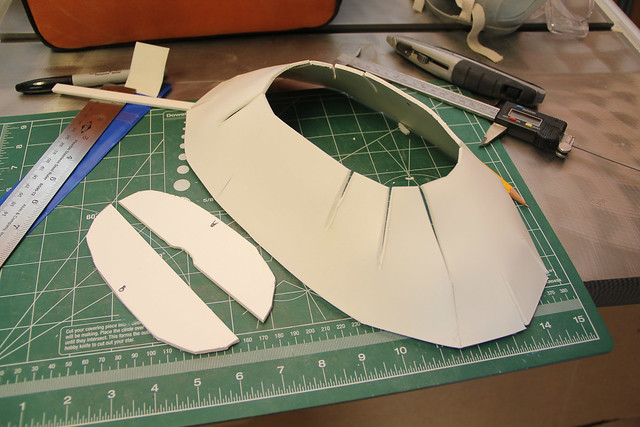
The knuckle bow guard was made by heat forming strips of 1/8" sintra (it's the only thickness I have access to) and then super gluing it all together.
I used some Bondo brand body filler earlier but for areas where a lot of sanding is needed I use Evercoat Z-Grip. I've only managed to find it at automotive stores but it sands miles better than regular Bondo. I highly recommend it.

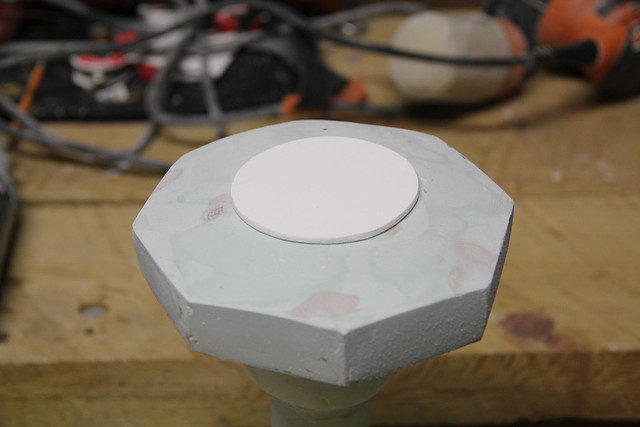
Halfway through sanding the last handle piece pictured above I realized that it was not actually round but octagonal so I had to go back and cut it down. Below is all the handle pieces mostly smoothed out.
The handle pieces were Gorilla glued onto the PVC pipe. Upon double checking to the blueprint I found that it was too long so I had to cut about an inch from one side. You can see I had to sacrifice some of the detail from the original blueprint. This was mostly due to no having a lathe and not spending enough time during the shaping of the pink insulation foam.
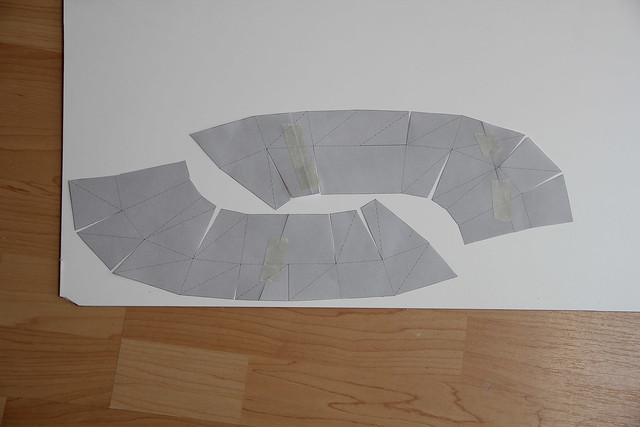
The guard of the sword is a large dome and it would be impossible to make out of one sheet of sintra without cutting it apart so I made a 3D model and used Pepakura to make the template. The initial one came out too boxy since my 3D model was too simple.
After remaking the 3D model using a higher poly model I put it back into Pepakura.

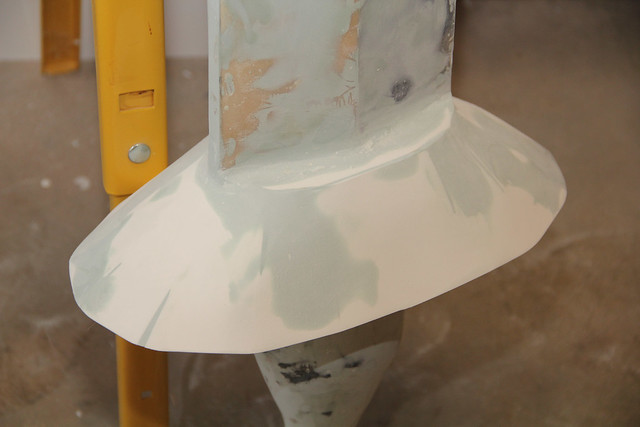
The sintra was then heat formed to get the correct shape. The other two sintra pieces are to cap off the hole at the top. The guard sits just under the blade so the cap pieces are made to fit onto just the thickness of the MDF + steel rod core.
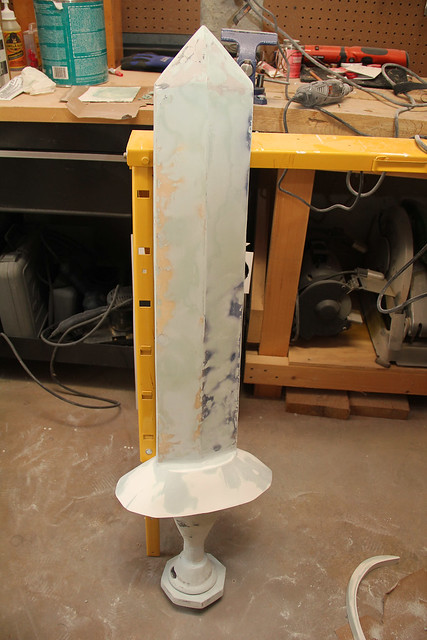
And here's a shot of the blade and handle put together. The MDF + steel rod core extends into the PVC pipe and it was all Gorilla glued together.

The end was capped off using a circle of sintra.
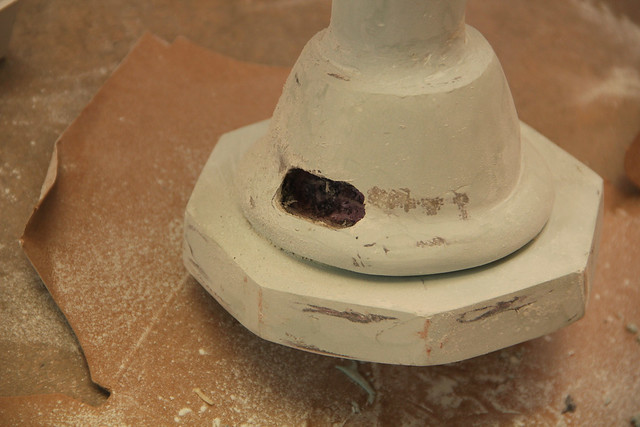
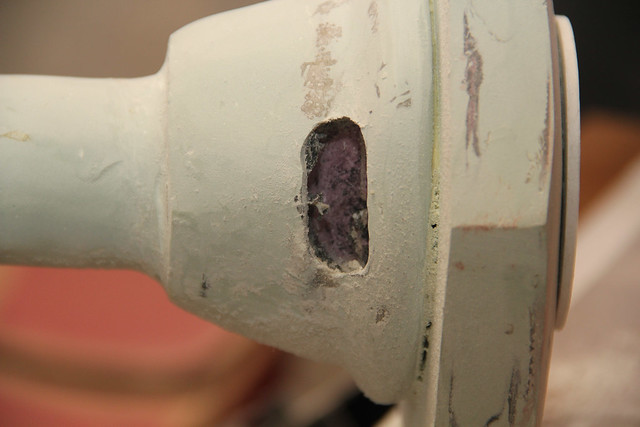
I dremeled out a hole for the knuckle guard at the bottom of the handle. The other attachment point is on the large dome guard.
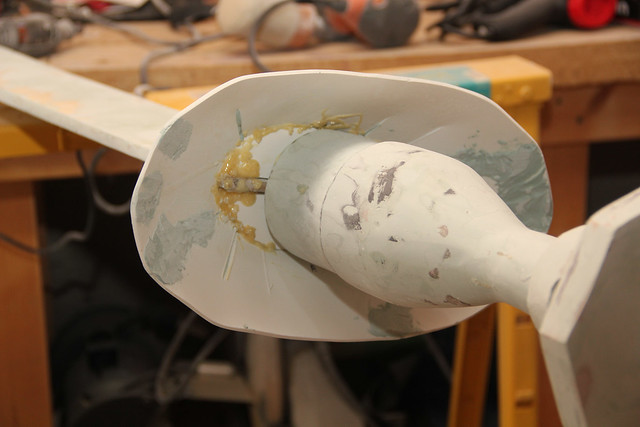
The dome was glued on and then blended in with more body filler.
The underside of the guard is ugly because of the Gorilla glue but since it doesn't really get seen I didn't really bother cleaning it up too much.
A closer view of the slot for the knuckle guard.
The knuckle guard glued in place.
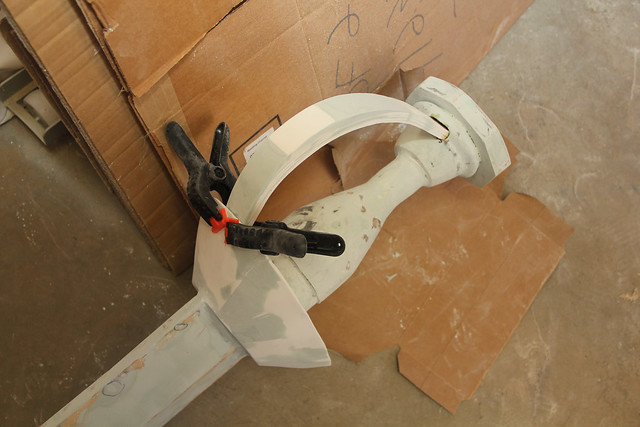
Everything assembled together.
After some priming some spot putty was needed before it would be ready for actual paint.
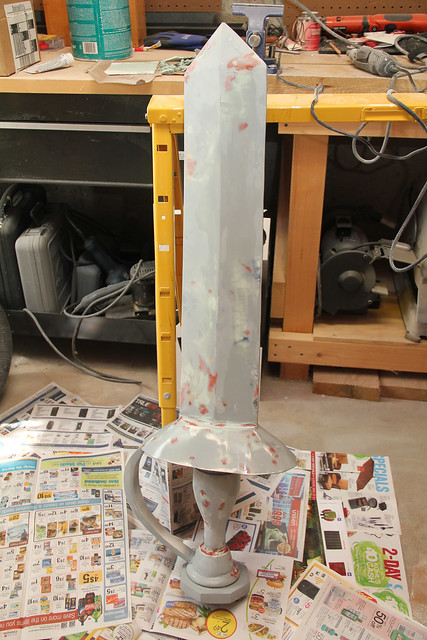
The entire sword got a few coats of RustOleum silver spray paint.

The handle was masked off and I airbrushed a custom mix of acrylic paints for the brown. I just use the cheap acrylic paints that are less than $1 at craft stores.

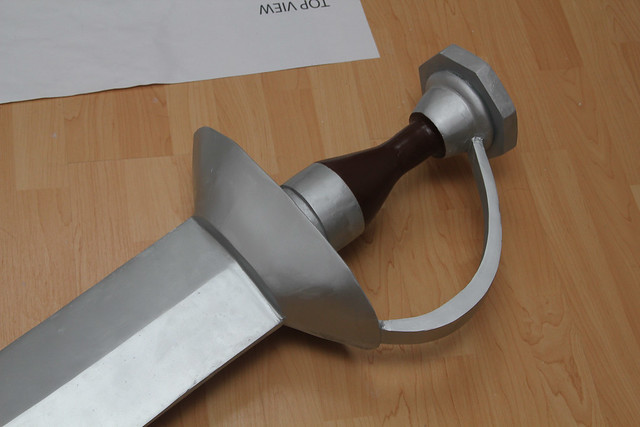
This was my first time weathering a prop but I think it turned out alright. The weathering was sealed in using Future Floor Acrylic. I've had a large bottle for years since I used to make Gundam models and resin kits and I used it as a clear coat for those things. Weathering really adds some depth to the overall piece.

This is probably not the best place to mention this/make a request, but in my never ending quest to make my Maes Hughes Cosplay(I want him in uniform, with chibi wings and a halo. So cute, I know), I found links for your Roy mustang costume tutorial and pattern(Link over here, http://www.andsewingishalfthebattle.com/fullmetal-alchemist-military-uniform)
ReplyDeleteProblem is, the link is broken, and I'd REALLY like to be able to check them out. If possible, I'd love it if I could somehow get a hold of them. My email is Alexander.the.okay@gmail.com. I'm okay with having it publicly, as I have another for more personal use. But I'd LOVE to hear from you if at all possible!
Hi, I used to have another blog with some friends and the original tutorial was posted there. I will eventually be migrating it to this site as I don't have to worry about hosting costs here and it's dedicated to my own personal work. In the meantime the link for that is hosted over at:
Deletehttp://animeinsightsarchive.wordpress.com/2011/02/07/roy-mustang-cosplay/
Is there any chance that you could put the blueprints (for the sword and hilt) you used up for download?
ReplyDelete