
Here I double check what it looks like put together.

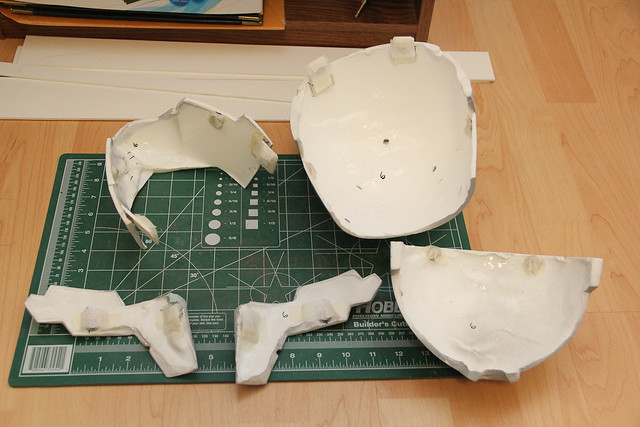
And a couple more coats of primer before getting wet sanded. I should probably get it even smoother in the future - I know a lot of people sand masters up to 1000 grit and buff it.


And then I start the daunting task of making my first molds. I've never made any sort of mold before so this was a huge learning process.
I start by creating some risers and adding clay on the edges of parts. You have to use NSP clay or else it will react with platinum cure silicone rubber and inhibit the curing process.


I start off with a layer of thinned Rebound 25 to get the print coat. I then used a second coat of regular Rebound 25 before adding thickener to the subsequent layers.

I used a paint palette to make some registration keys. I also made some using the lid of a large Duplo container that made cylindrical pucks which I later cut up into quarters.


The registration keys were placed while the top layer of silicone on the part was still wet.
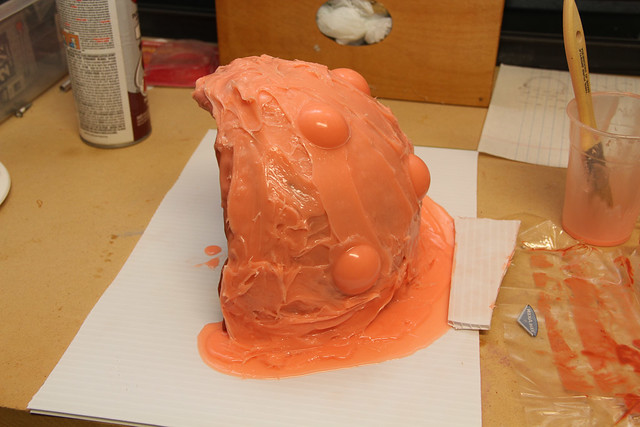
Then I covered it all with some more silicone rubber.
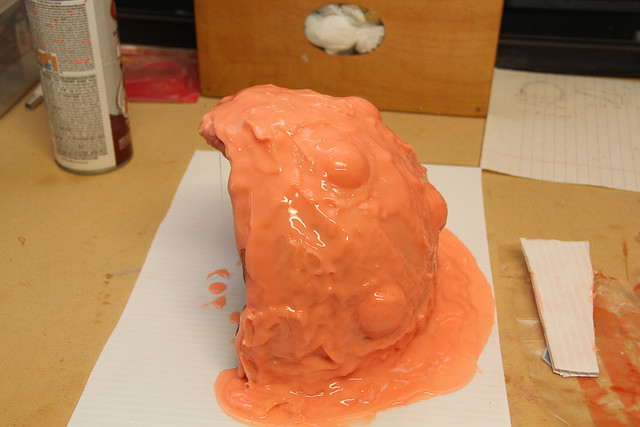
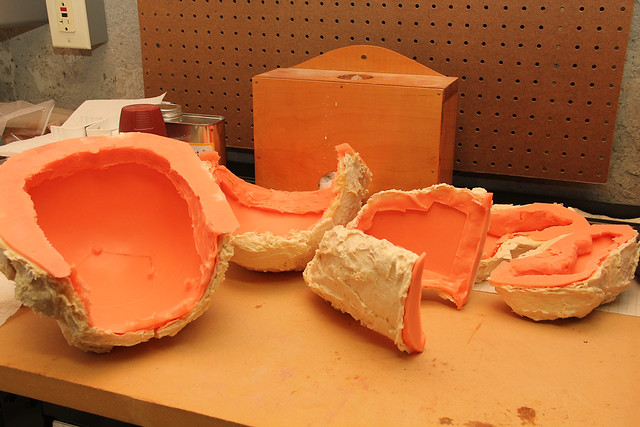
Mother molds were created using Plasti-Paste. This stuff looks like mashed potatoes and gravy when you're mixing it up. I didn't wipe down my final layer with solvent do it ended up jagged. I'll probably take the time to wipe it down with solvent in the future.

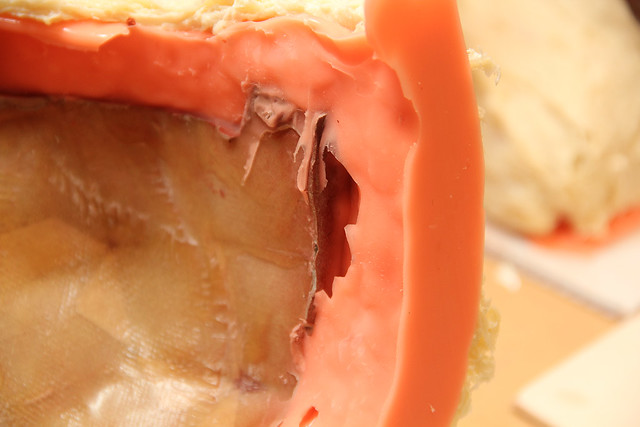
I did have a few areas between the silicone rubber and master where I had some gaps in the undercuts so I went back and added some more silicone.
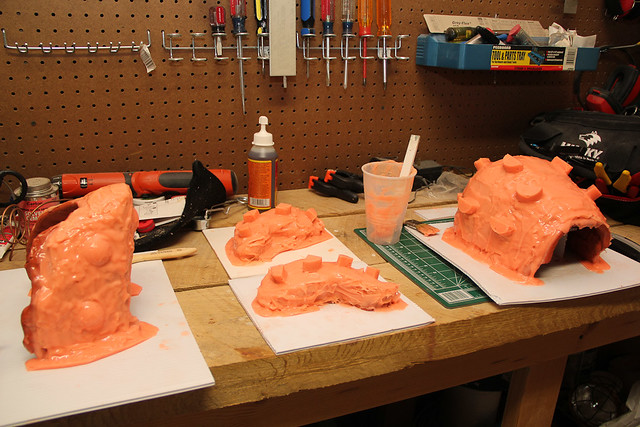
The three parts separated - the mother mold, the silicone rubber, and the master.

The detail in the mold was pretty good.

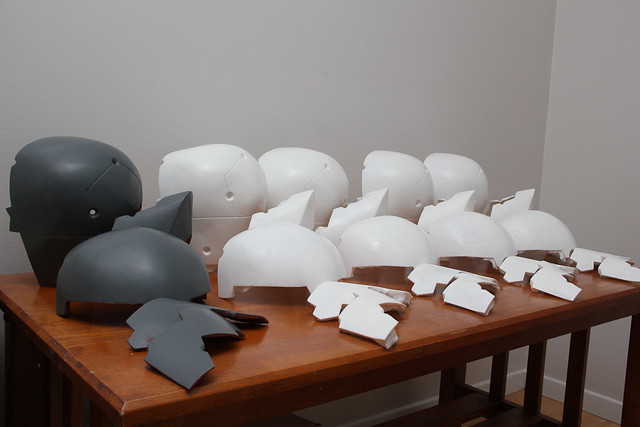
All 5 molds with the master taken out. I did have to cut two of the mother molds in half because it was so difficult to take out. I initially thought I could get away with one piece mother molds for all the parts but that wasn't the case.
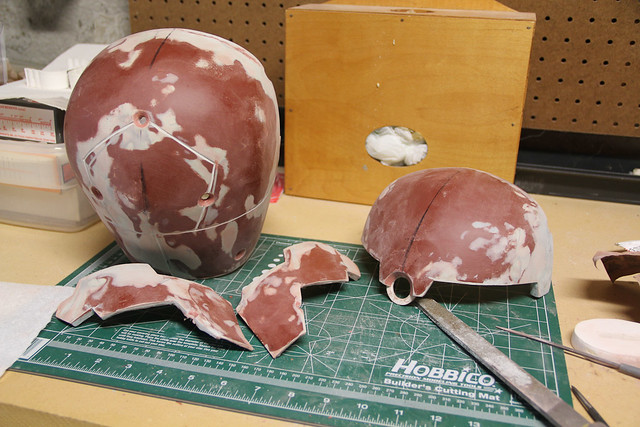
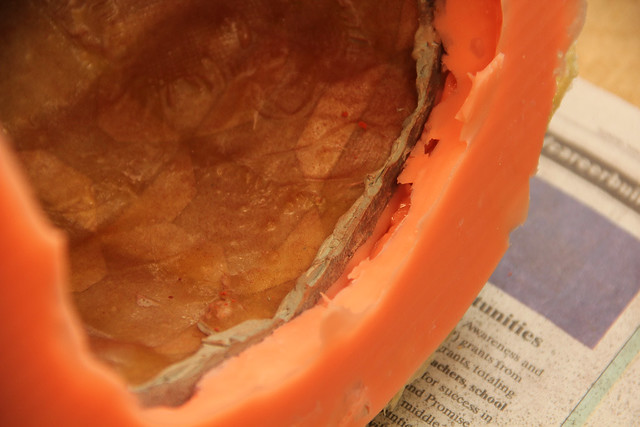
The first pull from the mold. I used Smoothcast 65D to slush cast them. It was my first time casting so there were some areas that went on too thick. I tried to do multiple parts at once but it's really difficult to get all the parts an even thickness that way.
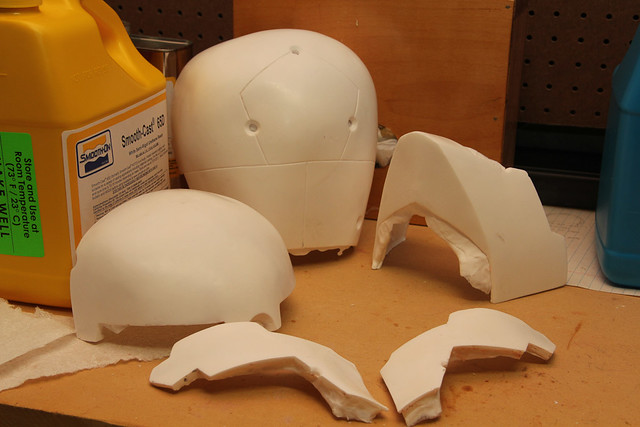
Subsequent casts came out a bit better in terms of having even thickness in most areas. I'm pretty satisfied with the detail captured on the back.
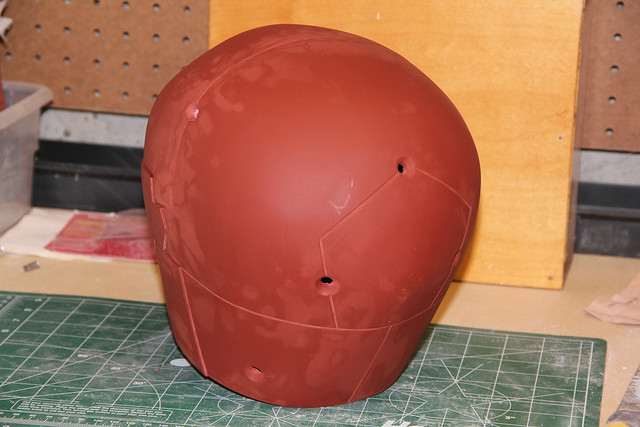
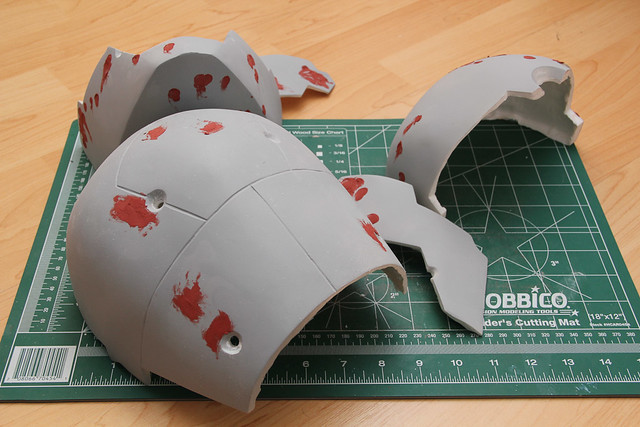
The casts above were all for customers so I made another one for my own copy. I first mark all the areas for filling and fixing. These areas were then filled using some body filler.


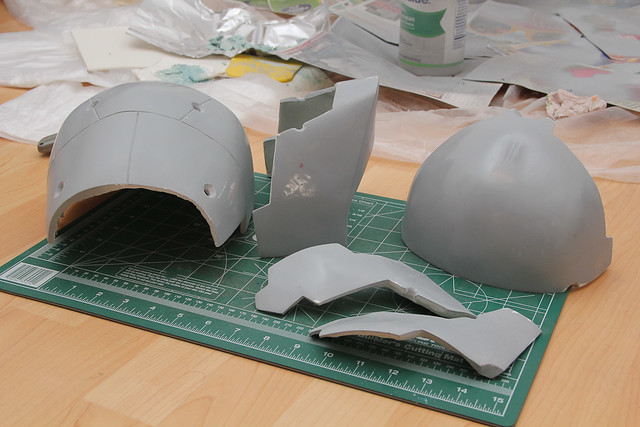
Some primer and then it was time for spot putty to fix the more minor imperfections.
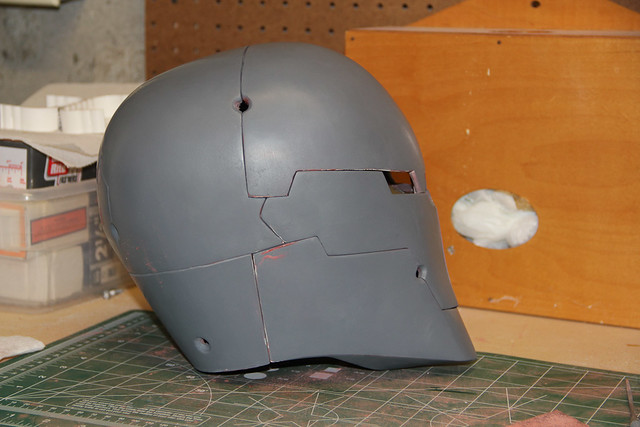
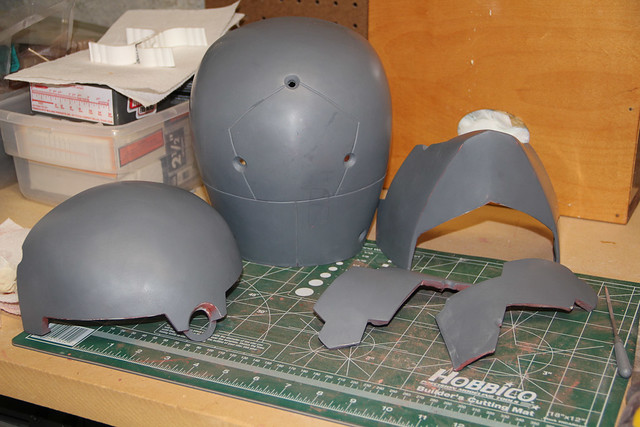
It's too cold outside so all the painting was done inside in case you're wondering why there's a drop cloth on the wood floor. I knew there's a reason I keep around those empty plastic containers! A couple of layers of gray primer and then wet sanded up to 600 grit.

The plan for connecting the pieces of the helmet together was to use neodymium magnets. I got mine from K&J Magnetics.
I ordered ZD3 (x10), D9H2 (x4), D83 (x2)

And here's the placement of the magnets. For areas that needed to overlap I cut a piece of sintra to make a tab. I had initially planned on having some of the magnets connect side to side but it drastically cuts down on the pulling force so I ended up using the tabs so they could get the full surface area and keep the stronger force. The magnets are glued in using super glue and the other side has some padding to prevent it from scratching the paint when the cheek pieces are on the outside and to add some padding on the inside where it will contact my head.
The helmet was painted in about 5-6 coats of RustOleum Gloss White paint. The final coat was wet sanded up to 600 grit before gloss coating with RustOleum Crystal Clear Gloss.

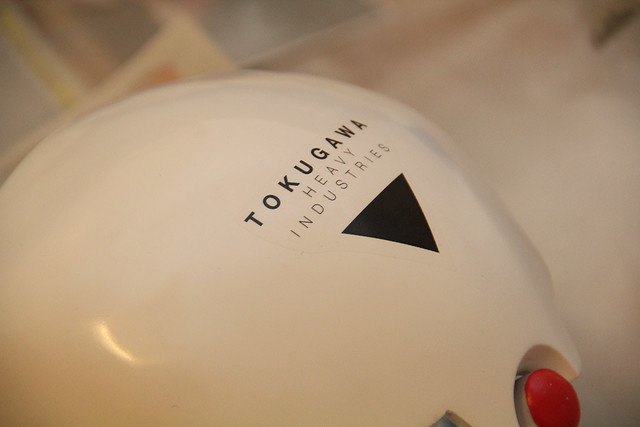
I designed the decals in Illustrator and printed it out on waterslide decal paper made for laser printers. I made sure to get the clear paper. I brushed on some Micro-Sol to help the decals conform to the surface better. You have to be about 6 inches away before you can kind of see the edge and even then it's pretty faint.
The sensors were made using 1/4" and 3/4" acrylic rod. For now they're painted using acrylic paints but I'm planning on adding some LEDs.
Are you taking any orders for future sets of these? I would pay good money for one of these. You wouldn't have happened to be at ACEN this year?
ReplyDeleteYeah I can take orders for these. Please e-mail me at pandamajik AT gmail.com. I was indeed at ACEN this year. Cool that you remember.
DeleteHey pandamajik, I would absolutely love this for comic con next year! I second mojibakeru's comment on paying good money for the whole thing! Great job by the way! I wish i could do this for a living. i made my own deadpool costume and all i had was a little under a week to make it. i didnt like it very much but many ppl at comic con loved it.
Delete