Showing posts with label Gray Fox. Show all posts

Wednesday, September 5, 2012

Finishing Cyborg Ninja Helmet

I recently got commissioned to fully finish a Cyborg Ninja helmet so I was determined to make it the best possible. The final result was better than even my own.

I started off by casting another helmet using SmoothCast 65D.

 
Then there's the familiar process of body filler, sanding, and more filling and sanding. The green stuff is Evercoat Z-Grip body filler and the red stuff is Dynatron spot putty.


I picked up some stuff along the way including more grits of wet/dry sandpaper, Meguiar's Ultimate Compound, and Meguiar's Ultimate Liquid Wax.


After this there's some more priming and sanding involved.


And then the first coat of RustOleum Gloss White.


Before the final coat of gloss white I wet sanded it to 800 grit.


After a coat of RustOleum Crystal Clear I then sanded it down to 1000 grit to make it really smooth for the waterslide decals. The waterslide decals were drawn up in Illustrator and printed on waterslide decal paper using a laser printer. Make sure the printer matches the paper as there is both laser and inkjet waterslide paper.


I have Micro Sol and Micro Set from building scale models so I went ahead and used some of that here. It helps to soften the decal and make it conform to curved surfaces better.
 
 
While you can still see the edges of the decal here once you put a few more clear coats and then sand it down it really becomes nearly invisible.
 
 
Here you don't see the glossiness of the paint because it's been sanded down some. This is in the middle of working up to 2000 grit.
 
 
This is after polish and wax. I was really surprised by the results as it's my first experience with polishing and waxing. It takes some elbow grease but it really does turn out very smooth.


This is a closeup of the decal on the forehead piece to show that the edges become pretty much invisible.
 

I had some odd reactions with the clear on the back piece so I had to sand it down and restart from the white. It got really frustrating.


Another picture showing the final finish. You can read the words of the sandpaper in the reflection. Deep reflections don't show up nearly as well on white paint as with darker colors such as black.


Pictures of the final finished helmet. I added some upholstery foam on the inside of the cheek pieces where it attaches to the outside of the helmet in order to protect the finish.


Wednesday, February 1, 2012

Cyborg Ninja Sword

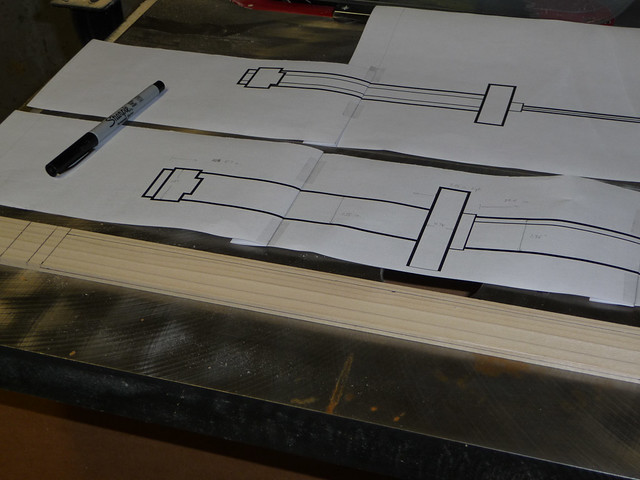
I first drafted up the sword in Illustrator based on reference images and some info I found that said the sword was based on a Japanese chokuto. I actually made some modifications to the design as I went along but the blade and handle length stayed the same.

I started off with 1/4" poplar and used it for the blade and tang.


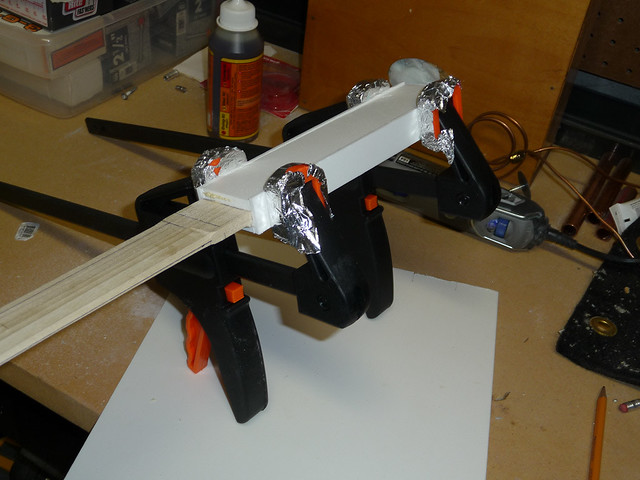
The handle was made by sandwiching layers of sintra. It's glued together using Gorilla Glue.


The tsuba was made by sandwiching layers of sintra together. I had initially started with 4 layers of sintra but it looked way too thick so I remade it using just 2 layers. The sintra I'm using is 1/8" thick so the final thickness was 1/4".


The other parts were all made using sintra as well. Body filler was used to smooth it out.


The entire thing was primered and sanded down. I used Zinsser Bullseye primer since I was at my parents house and they had some laying around. I'm sure regular primer would work but I figured I'd go ahead and use primer specifically for wood since it was there.


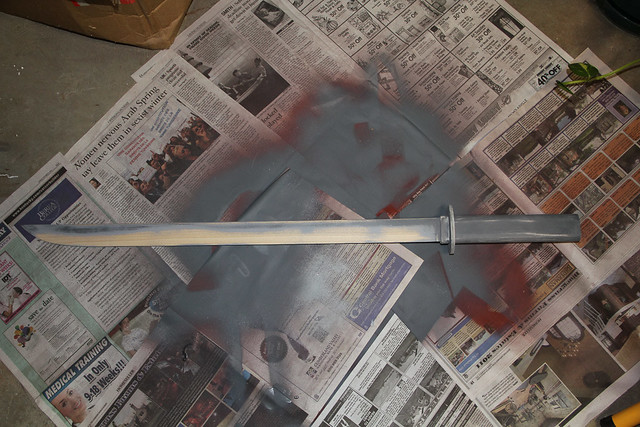
This was then painted using RustOleum Metallic Silver. The handle and other pieces were painted with acrylic gold paint. I buy the cheap $1 ones from the craft store. I actually didn't originally intend to make all the parts removable but I thought it would be neat to keep them separate.


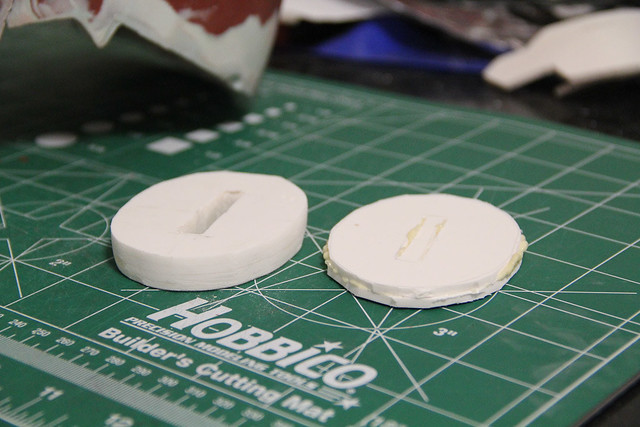
Once I thought about wrapping the handle using the traditional handle wrapping method, I realized that I had to make the endcap (kashira). I watched this Youtube video of someone making this out of wood and used a similar method.


The slot on the handle is necessary so the tsukaito can actually slip through.


In the interest of trying to keep it as accurate as possible I folded about 50 hishigami. It's not that hard, just time consuming.


After some filling, sanding, and priming, the kashira was ready for paint. The part closest to the tsuba was made using some thin sheet styrene.


It took about and hour or two to wrap the tsukamaki. It's a lot harder than I thought because you really have to pull it super tight. For the wrapping I followed this tutorial.


Final sword painted in both disassembled and assembled form.